Zenity Integration Guide for Amazon Bedrock
Overview
Zenity leverages the Compliance API to analyze activity within your Amazon Bedrock Enterprise workspace..
Prerequisites
- Make sure you have the Zenity AWS account ID from Zenity team
- Make sure you have your organization's AWS account ID`
How to Create Integration for Amazon Bedrock
Create IAM Role for Bedrock Cross-Account Access
Step 1: Log in to the AWS Console
- Open: https://console.aws.amazon.com/
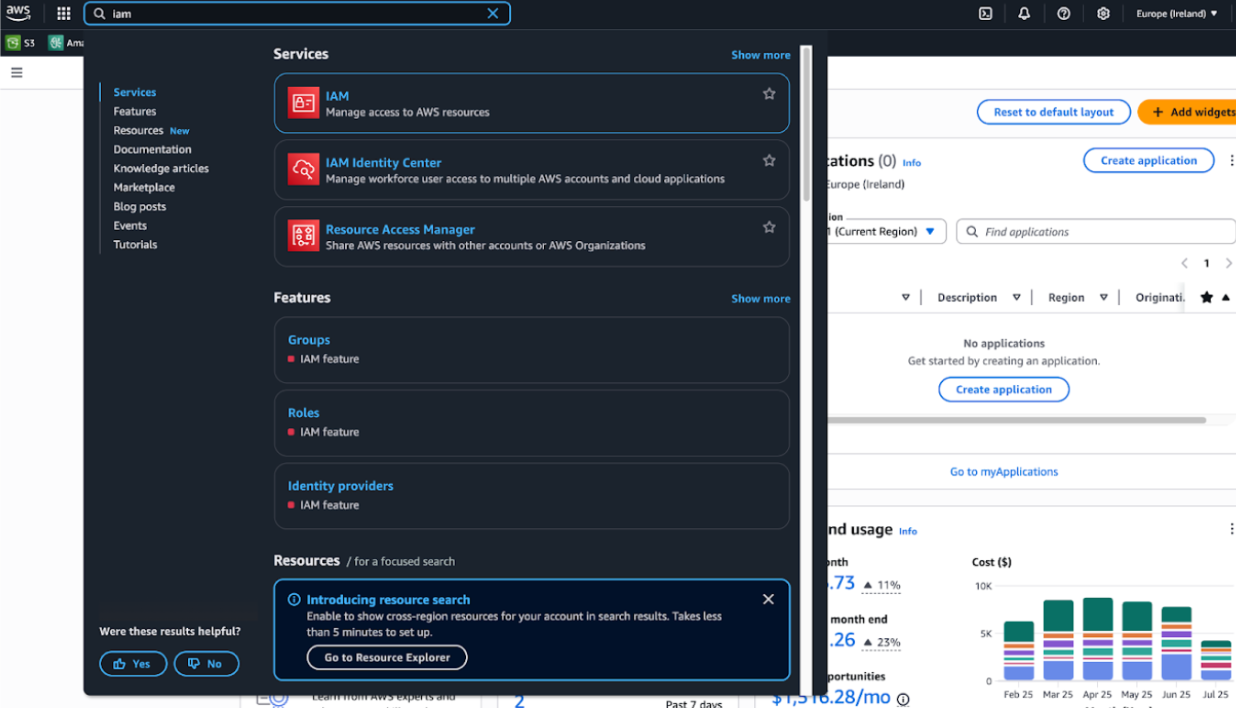
- Navigate to: IAM service (You can search “IAM” in the top bar).
Step 2: Create a New Role
- In the left panel, click Roles.
- Click Create role (top right).
Step 3: Select Trusted Entity Type
- Choose AWS account.
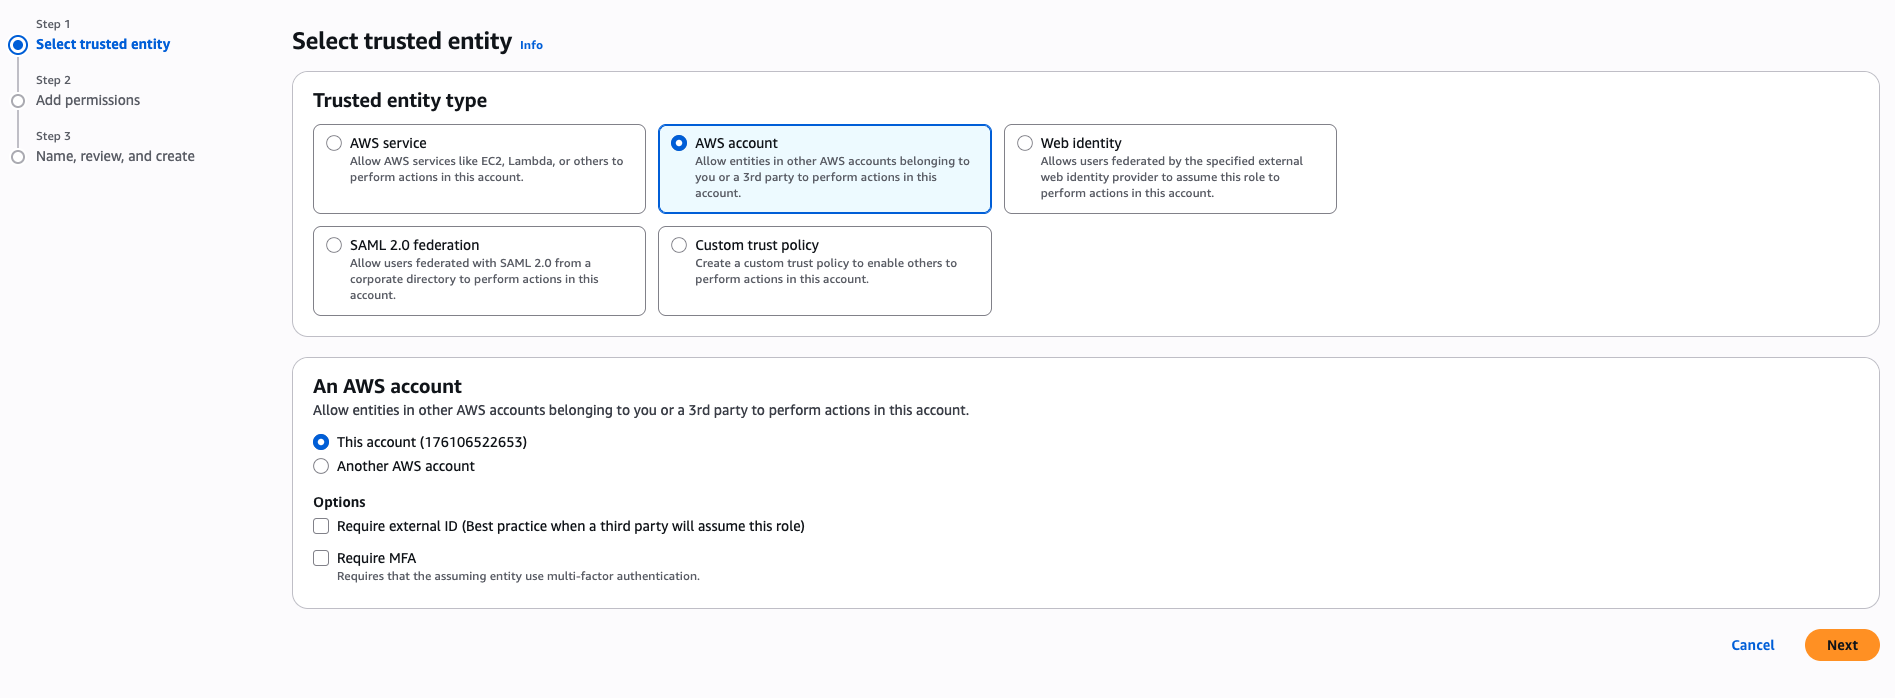
- Choose Another AWS account and enter the value for
-
In Options check the Require external ID (Best practice when a third party will assume this role) option and provide a secret identifier (UUID is recommended)
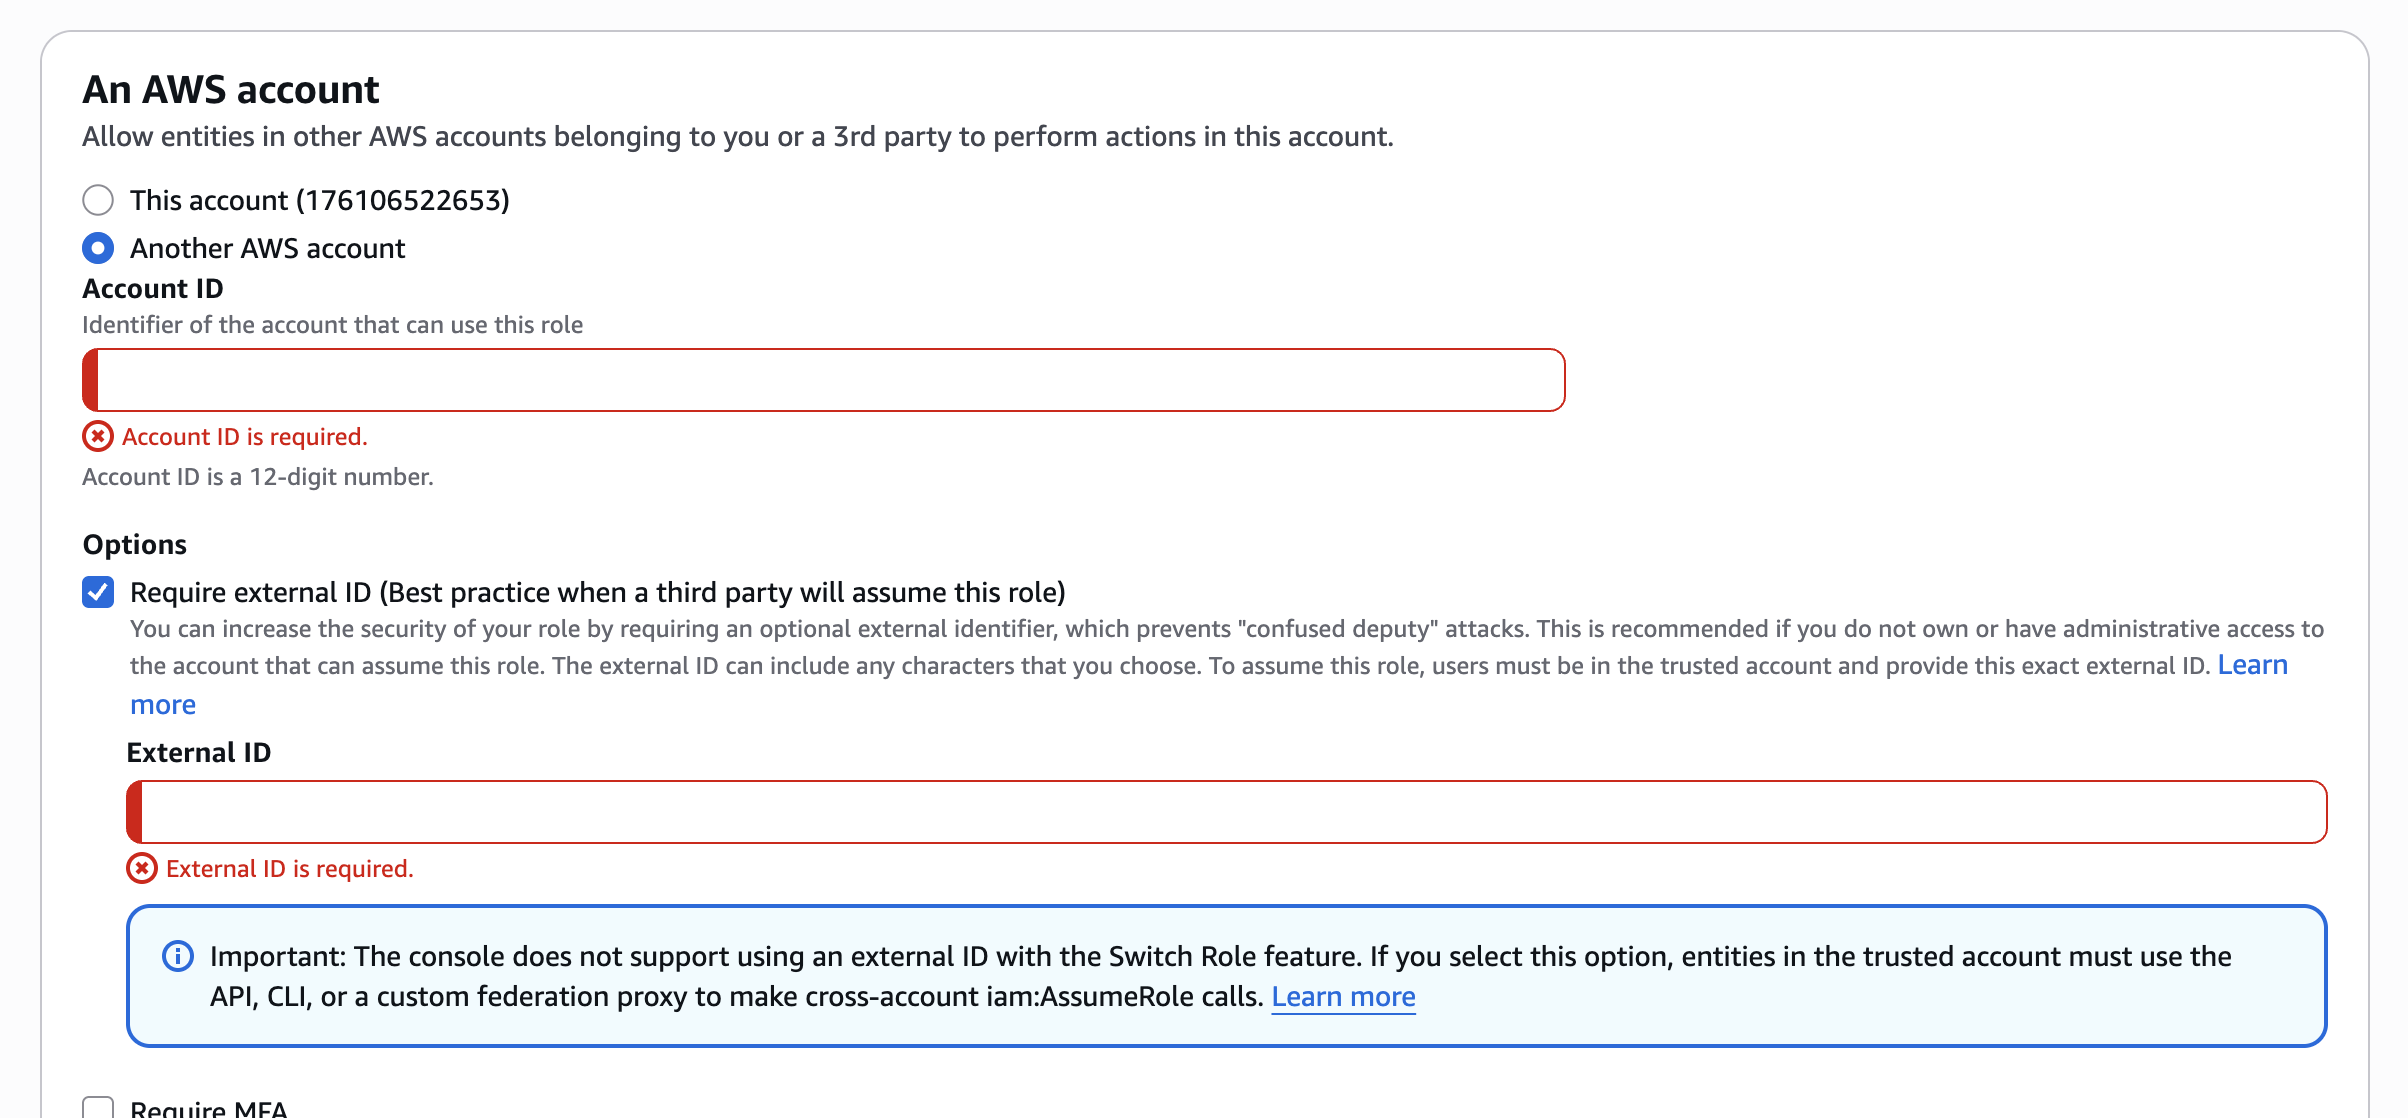
-
Click Next.
Step 4: Skip Permissions
- On the Add permissions screen, skip adding permissions for now.
- Click Next.
Step 5: Name the Role
- Set Role name to:
zenity-bedrock-integration-role(or similar) - (Optional) Add description or tags.
- Click Create role
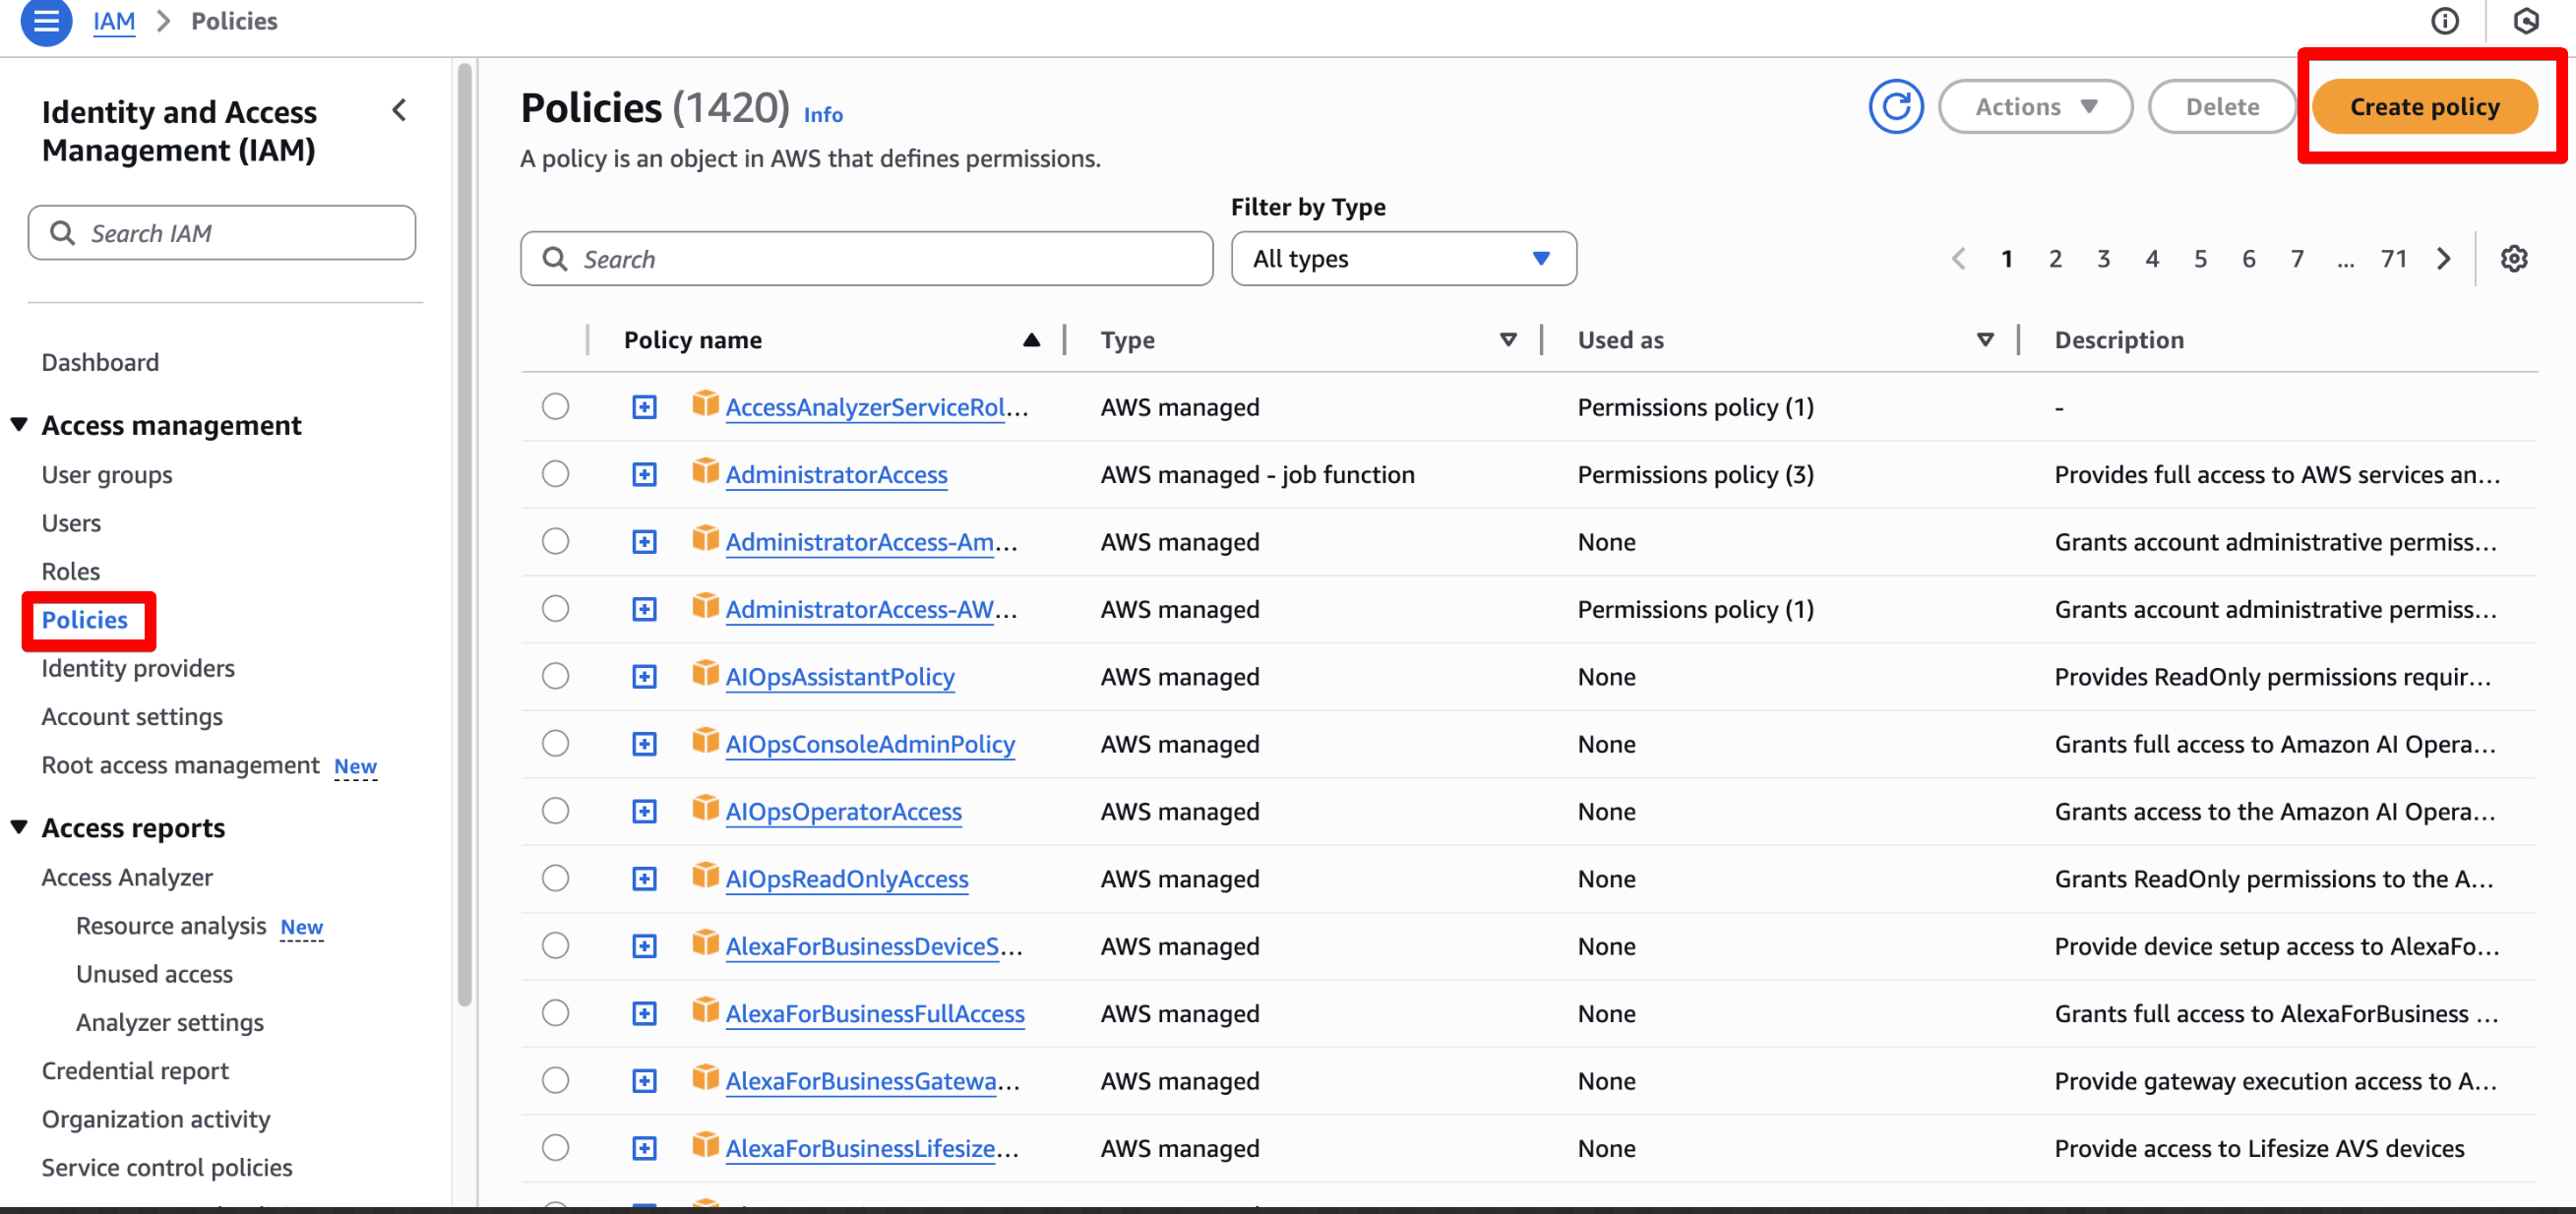
Step 6: Create a policy
- Go to the Policy Page and click on Create Policy
- In the Specify permissions section choose JSON
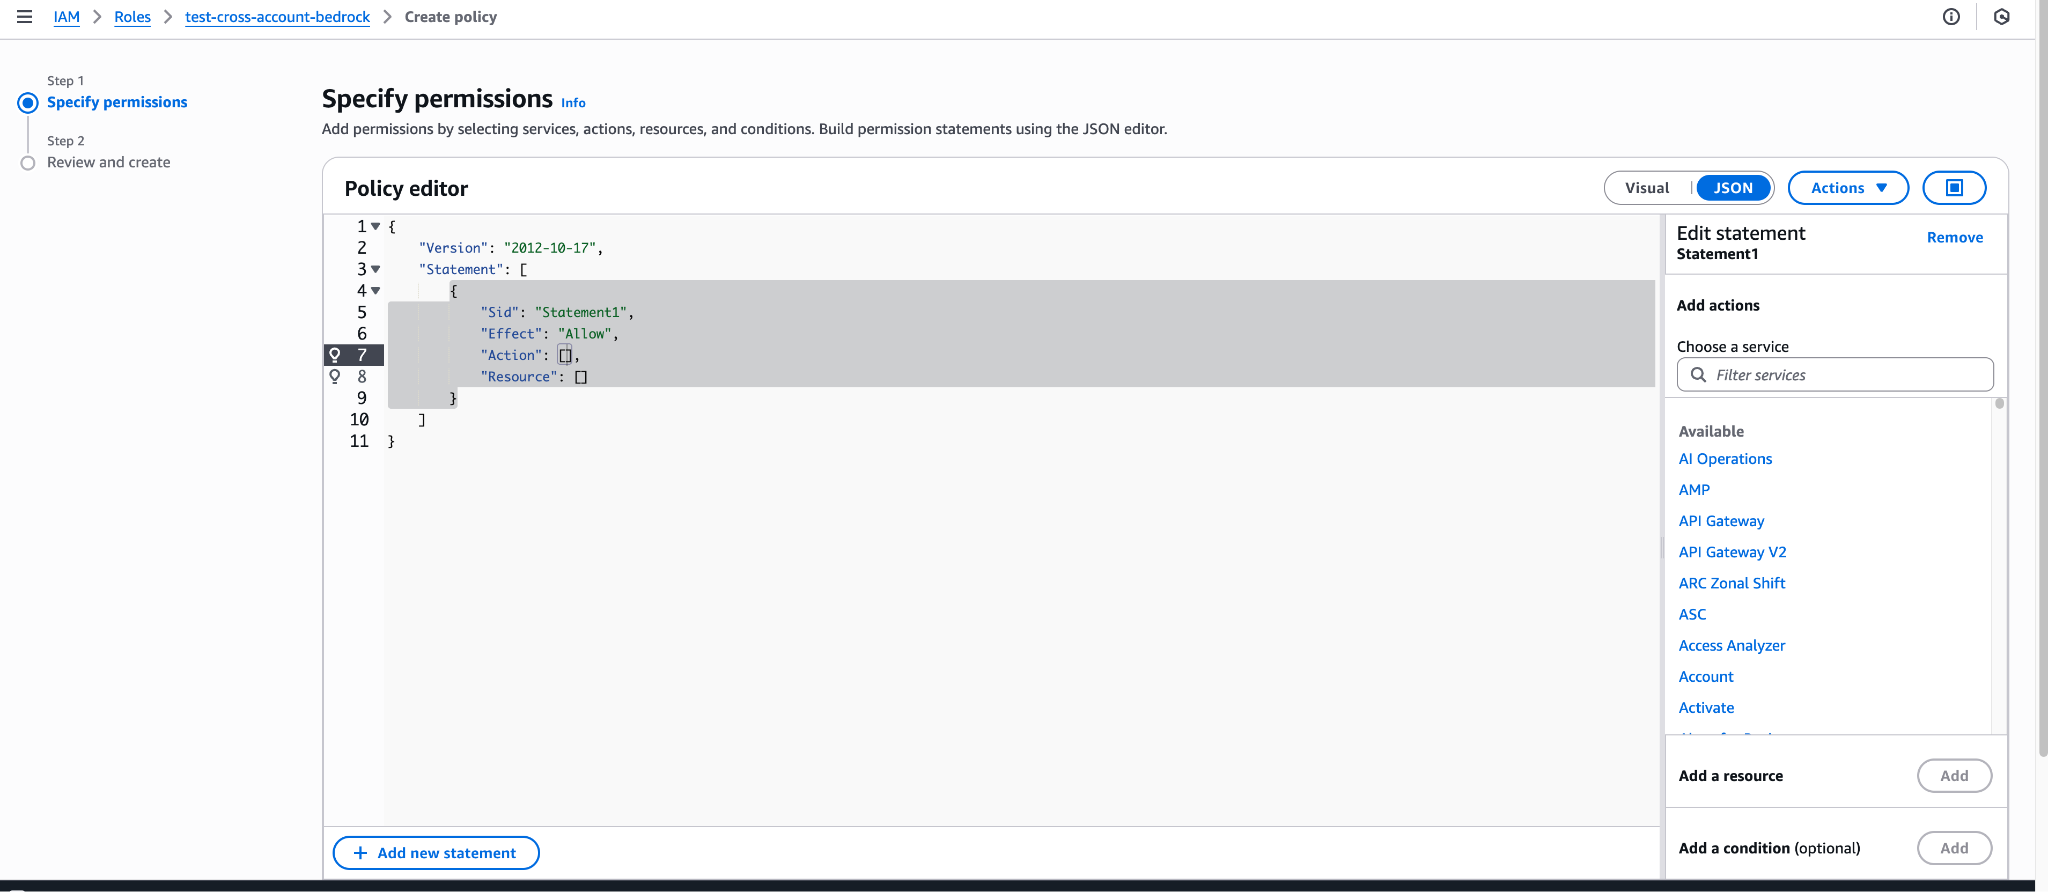
- In the JSON editor, paste:
{
    "Version": "2012-10-17",
    "Statement": [
        {
            "Sid": "VisualEditor0",
            "Effect": "Allow",
            "Action": [
                "bedrock-agentcore:GetGateway",
                "bedrock-agentcore:GetAgentRuntimeEndpoint",
                "bedrock-agentcore:ListAgentRuntimeEndpoints",
                "ec2:DescribeRegions",
                "bedrock-agentcore:ListGatewayTargets",
                "bedrock:ListKnowledgeBases",
                "bedrock-agentcore:GetGatewayTarget",
                "bedrock-agentcore:ListAgentRuntimes",
                "bedrock-agentcore:ListMemories",
                "bedrock:ListAgents",
                "bedrock-agentcore:GetMemory",
                "bedrock-agentcore:GetOauth2CredentialProvider",
                "bedrock-agentcore:GetApiKeyCredentialProvider",
                "bedrock-agentcore:ListOauth2CredentialProviders",
                "bedrock-agentcore:ListWorkloadIdentities",
                "bedrock-agentcore:GetWorkloadIdentity",
                "bedrock-agentcore:ListGateways",
                "bedrock-agentcore:ListApiKeyCredentialProviders",
                "bedrock-agentcore:GetAgentRuntime"
            ],
            "Resource": "*"
        },
        {
            "Sid": "VisualEditor1",
            "Effect": "Allow",
            "Action": [
                "bedrock:GetAgentVersion",
                "bedrock:ListKnowledgeBaseDocuments",
                "bedrock:GetGuardrail",
                "bedrock:ListDataSources",
                "bedrock:GetKnowledgeBase",
                "bedrock:GetPrompt",
                "bedrock:GetAgent",
                "bedrock:GetDataSource",
                "bedrock:GetAgentCollaborator",
                "bedrock:GetAgentActionGroup",
                "bedrock:GetAgentKnowledgeBase",
                "s3:GetObject",
                "bedrock:ListAgentVersions",
                "bedrock:ListAgentCollaborators",
                "bedrock:GetKnowledgeBaseDocuments",
                "bedrock:ListAgentActionGroups",
                "bedrock:ListAgentKnowledgeBases",
                "bedrock:ListAgentAliases"
            ],
            "Resource": [
                "arn:aws:bedrock:*:586289480321:guardrail/*",
                "arn:aws:bedrock:*:586289480321:knowledge-base/*",
                "arn:aws:bedrock:*:586289480321:prompt/*:*",
                "arn:aws:bedrock:*:586289480321:agent/*",
                "arn:aws:s3:::*/*"
            ]
        },
        {
            "Sid": "VisualEditor2",
            "Effect": "Allow",
            "Action": [
                "bedrock:ListAgents",
                "bedrock:ListKnowledgeBases",
                "bedrock:ListPromptRouters"
            ],
            "Resource": [
                "arn:aws:bedrock:*:586289480321:guardrail/*",
                "arn:aws:bedrock:*:586289480321:knowledge-base/*",
                "arn:aws:bedrock:*:586289480321:prompt/*:*",
                "arn:aws:bedrock:*:586289480321:agent/*"
            ]
        }
    ]
}
- Replace
with the real value -
Click on Next
-
Set Policy name to:
zenity-bedrock-integration-policy(or similar) - (Optional) Add description or tags.
- Click Create Policy
Step 6.1 (Optional): Grant Access to S3 API Schemas
To allow Zenity to analyze and inventory Bedrock Action Group API schemas stored in S3, the IAM role must include read access to S3 objects.
The inline policy above now includes: { "Sid": "AllowS3ReadAll", "Effect": "Allow", "Action": "s3:GetObject", "Resource": [ "arn:aws:s3:::", "arn:aws:s3:::/*" ] }
This grants Zenity read-only access to all S3 buckets and objects in the account. Zenity uses this permission to retrieve any API schema files for Bedrock Action Groups that live in S3.
Why this matters: Without S3 read access, Zenity cannot fetch or scan schemas stored in your buckets. Those schemas will be missing from: • The Zenity inventory • Findings, risk analysis, and policy enforcement on those schemas
Restricting to Specific Buckets
For least-privilege, you can limit S3 access to only the buckets containing your schema files:
{ "Sid": "AllowS3ReadSchemas", "Effect": "Allow", "Action": "s3:GetObject", "Resource": [ "arn:aws:s3:::my-action-schemas-bucket", "arn:aws:s3:::my-action-schemas-bucket/*" ] }
Add one arn:aws:s3:::bucket-name and one arn:aws:s3:::bucket-name/* entry per bucket.
Note: Any bucket not listed here will be invisible to Zenity—its schemas won’t be scanned or included in your Bedrock integration.
If You Skip S3 Permissions • Bedrock Action Group schemas in S3 will be hidden from Zenity. • Those schemas won’t appear in your inventory, and Zenity cannot validate or enforce policies against them.
Best Practice
Start with full read access (all buckets) to verify integration end-to-end, then gradually scope down to only the buckets you need.
Step 6.2: Attach the new policy to the new role
- Go back to the Role page
- Search for the newly created role and click on it
- In the Permissions section choose Attack policies

- Look for your newly created policy and check it
- Click on Add Permissions
Create the Integration
- As an Admin user, go to Zenity → Integration → Create new
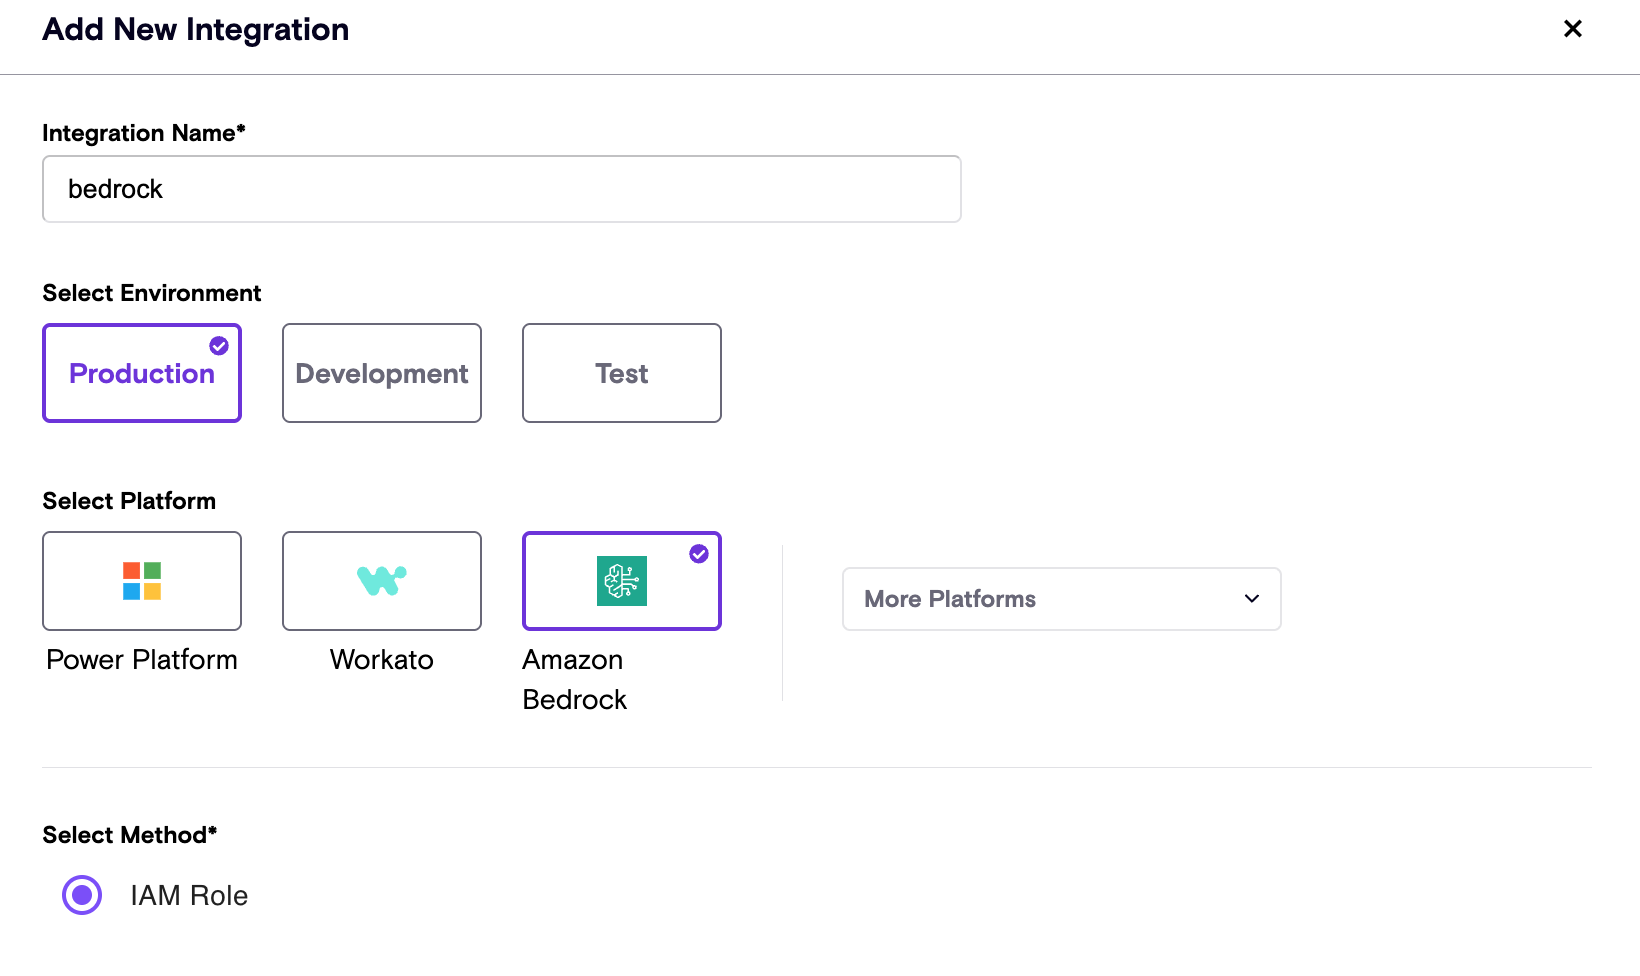
- Choose Amazon Bedrock
-
Fill the data in the form:
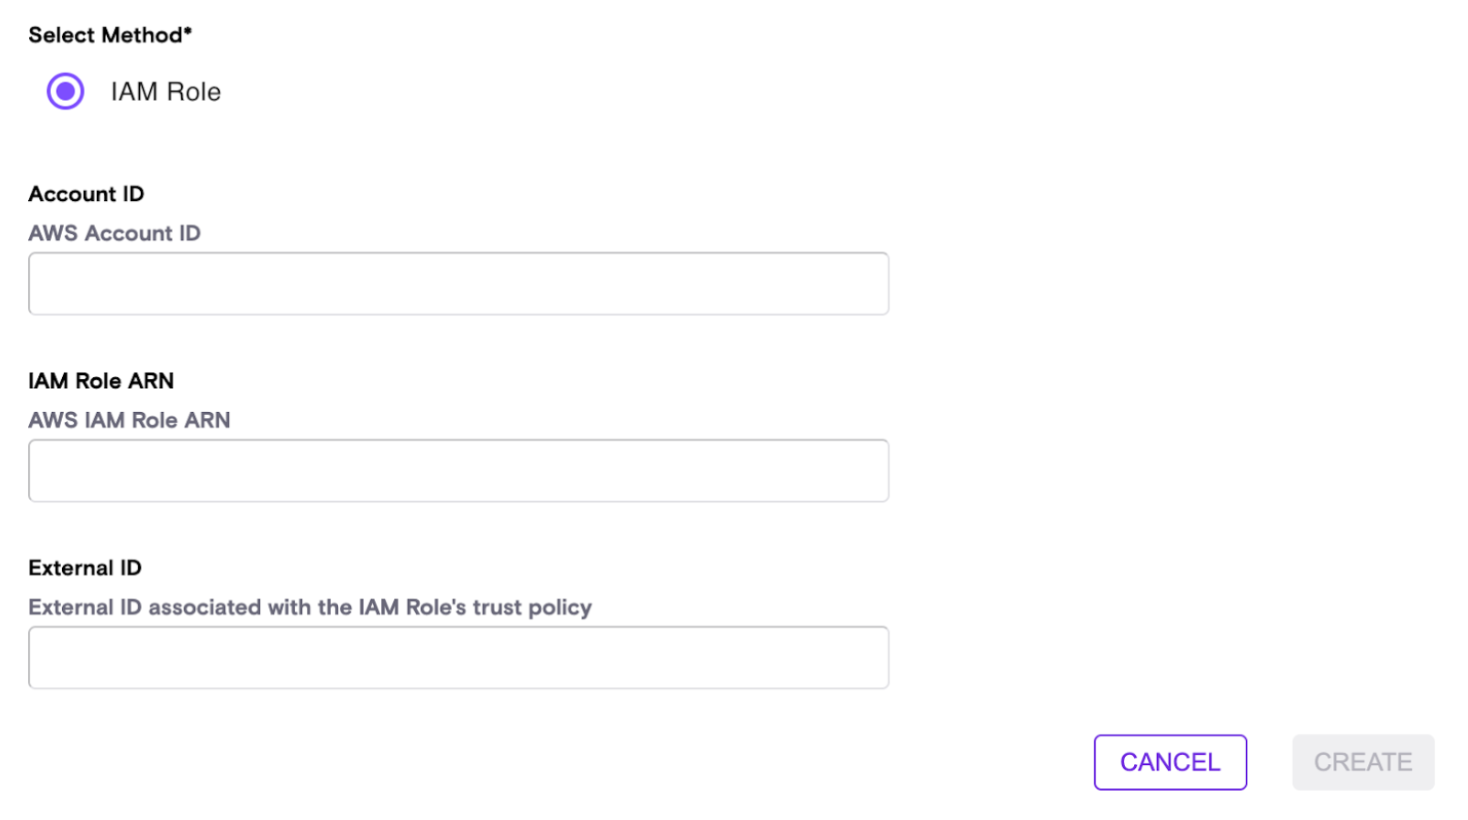
- Account ID – The ID of the customer account (the one to pull data from)
- External ID – The UUID used under
sts:ExternalIdwhen creating the role - IAM Role ARN – The AWS unique identifier of the created role
To get the IAM Role ARN: - In the AWS IAM service, go to the Roles page - Find the role by name - Click on the role name to view details - Copy the Role ARN

In the Zenity portal click Create to create the integration