Zenity's In-line Threat Detection and Prevention for Copilot Studio Agents
Introduction
Zenity collaborates with Microsoft to bring native, in-line protection to Copilot Studio, enabling enterprises to securely build and scale AI agents. With Zenity integrated directly into Copilot Studio, organizations gain real-time in-line attack disruption against threats such as:
- Data exfiltration attempts
- Direct and indirect prompt injections
- Improper secrets handling
Zenity ensures that every tool invocation (MCP servers, CRM systems, email, or business apps) is continuously monitored and enforced against enterprise policies, without interrupting productivity.
This guide explains how to configure Zenity In-line Threat Prevention with Copilot Studio using Microsoft Entra and Power Platform Admin Center.
What Data is Shared with Zenity?
When Zenity is integrated, Copilot Studio securely shares the following runtime data with Zenity for evaluation:
- User’s recent prompt and chat history
- Outputs from previously invoked tools
- Conversation metadata (agent ID, user ID, tenant ID, trigger type)
- Tool invocation request, reasoning, and inputs
Zenity analyzes this context to allow or block execution in real time, ensuring security before the action is performed.
Prerequisites
Before integrating Zenity with Copilot Studio, ensure you have:
- Power Platform Administrator role
- Microsoft Entra app registration for authentication with Zenity
- Zenity Webhook endpoint URL -
EU: https://edge.eu1.zenity.io/cps/webhook
US: https://edge.us1.zenity.io/cps/webhook
- Windows PowerShell 5.1 or later (if using script-based setup)
Step 1: Configure Microsoft Entra Application Using PowerShell Script
Download the Microsoft-provided PowerShell script. Use the Zenity endpoint in the "-Endpoint" parameter. Parameters to provide:
- TenantId: Your Entra tenant ID
- Endpoint: Zenity webhook endpoint (in the prerequisites above)
- DisplayName: e.g., "Copilot Security - Zenity"
- FICName: Federated Identity Credential name
Example: Powershell
 .\Create-CopilotWebhookApp.ps1 `
-TenantId "11111111-2222-3333-4444-555555555555" `
-Endpoint "https://zenity.example.com/threat-detection/copilot" `
-DisplayName "Copilot Security Integration - Zenity" `
-FICName "ProductionFIC"
Step 2: Authorize the Entra Application within Zenity
Zenity requires authorization of the Microsoft Entra application for secure communication.
Steps:
- Within Zenity's integration page ( https://app.zenity.io/app/integrations), edit your relevant Power Platform integration.
- Enable "In-line Webhook" integration by clicking on the toggle.
- Insert the Azure Entra App ID and Tenant ID, and click "Save Webhook".
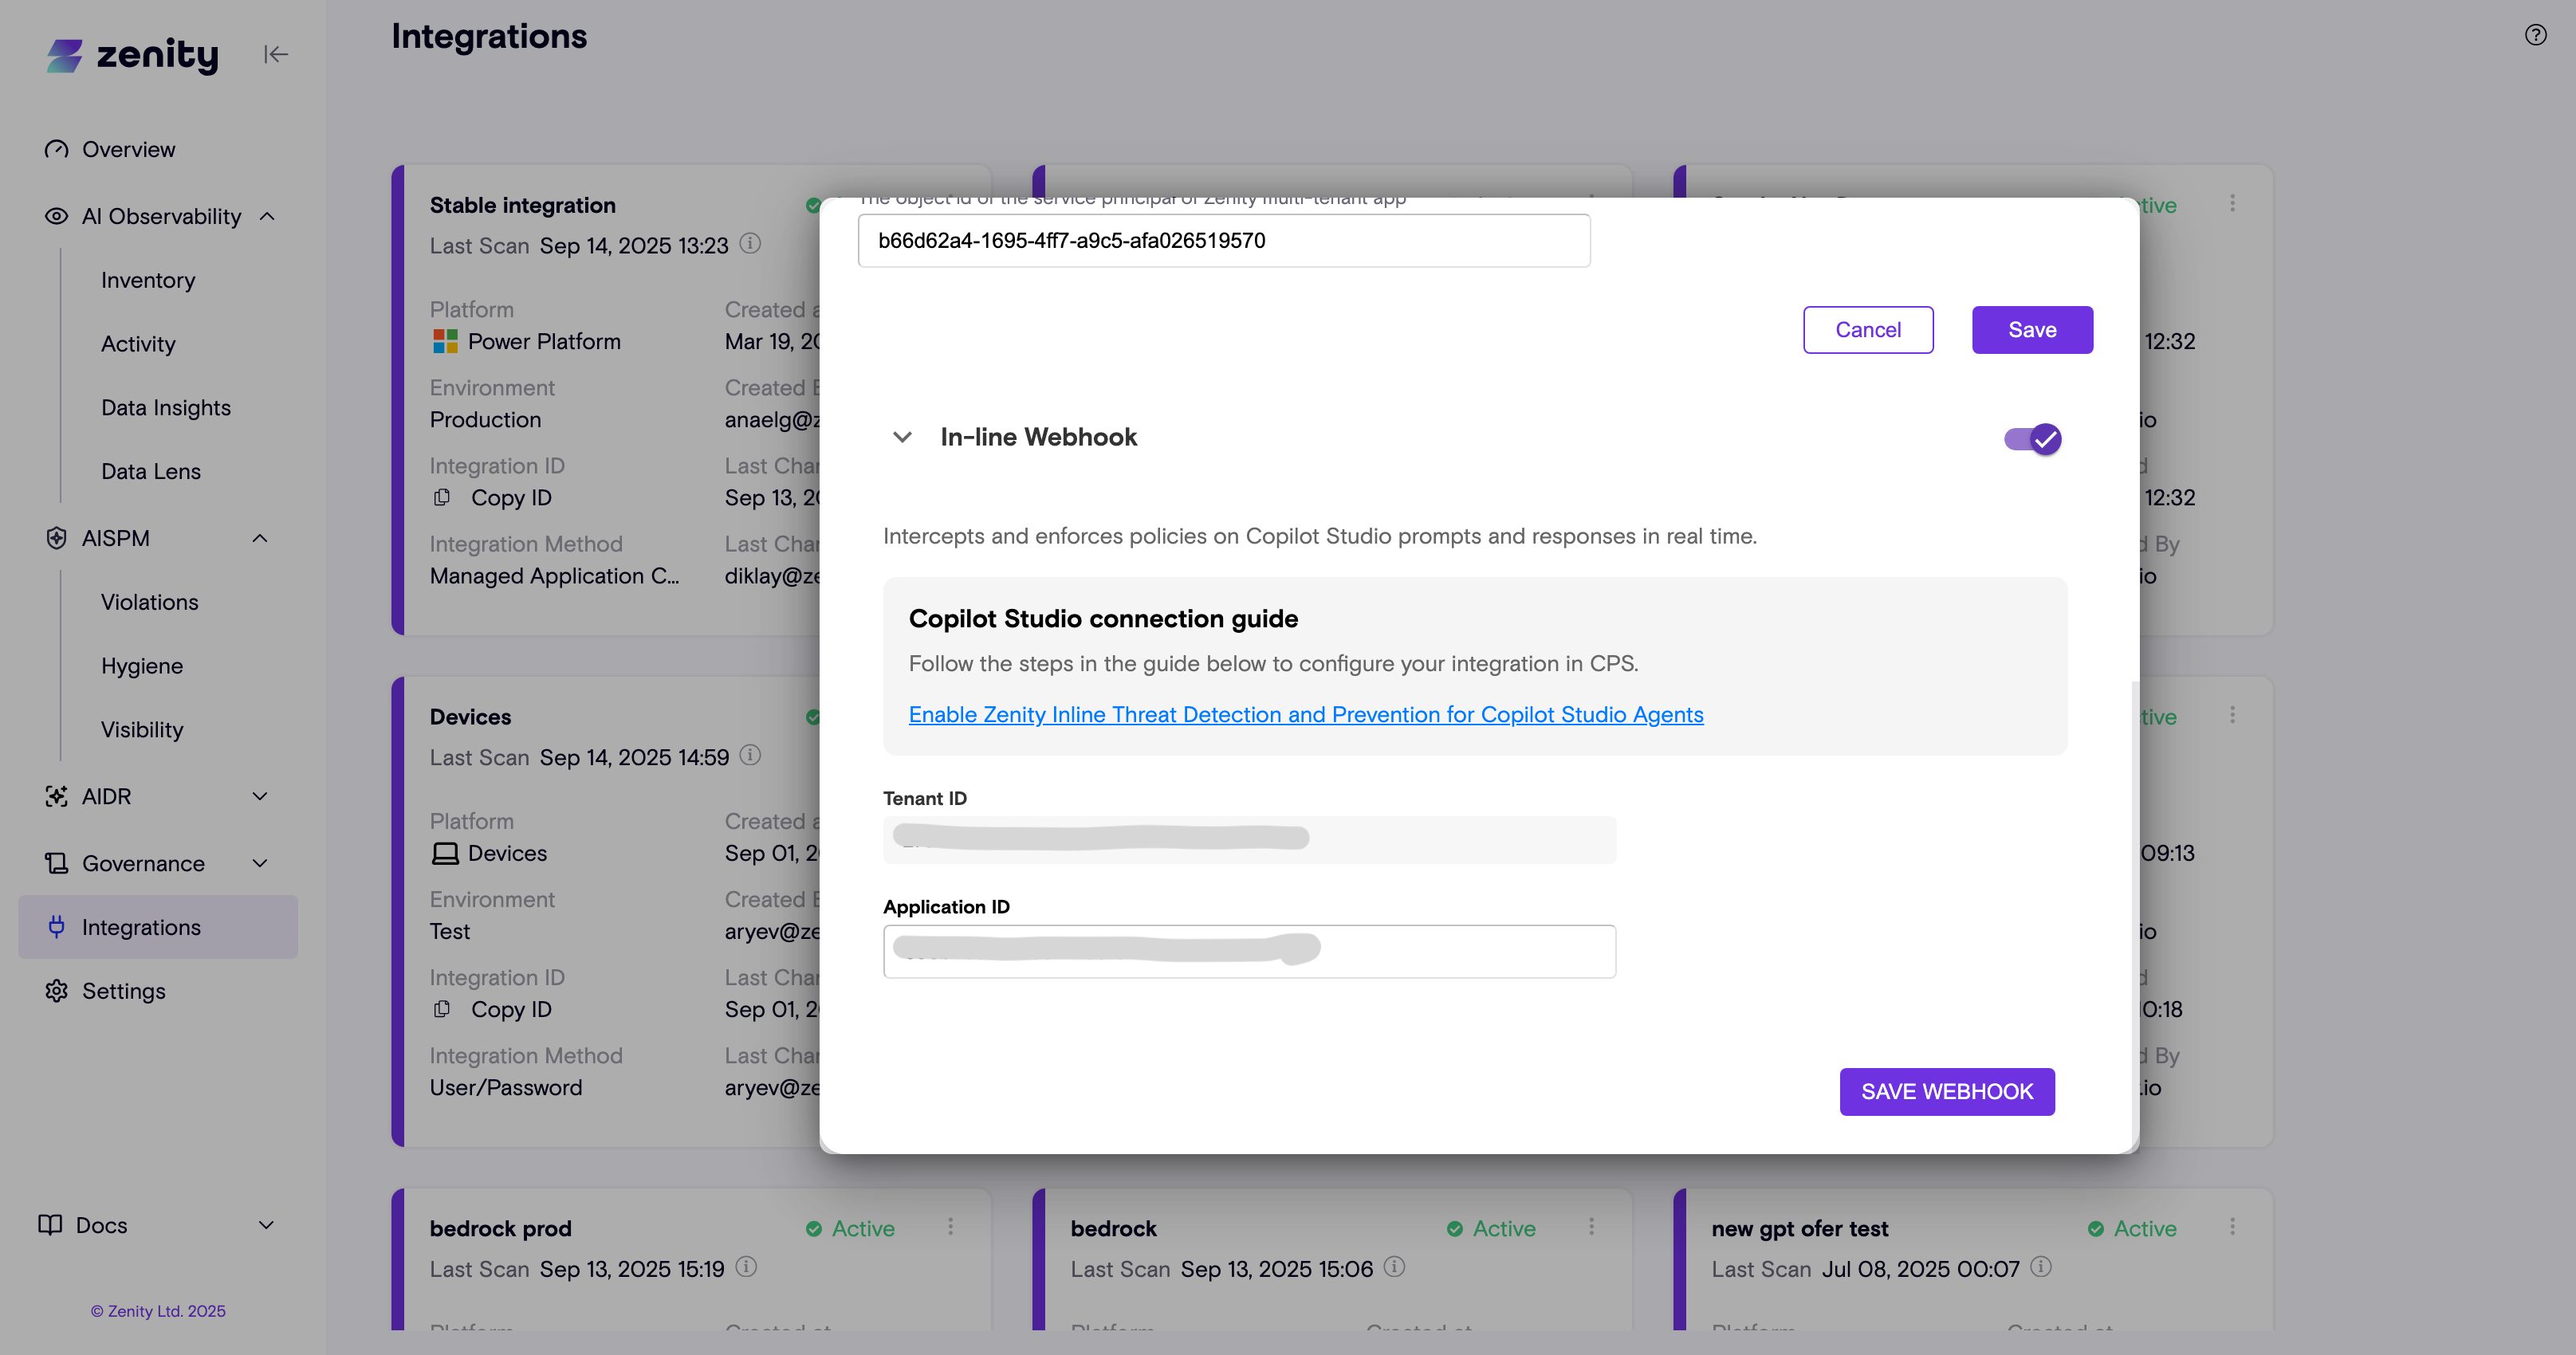
-
Zenity verifies and allowlists your application.
-
For further information and additional guidance, please see Microsoft's guide to connecting Copilot Studio with threat detection partners: https://learn.microsoft.com/en-us/microsoft-copilot-studio/external-security-provider
Step 3: Configure Threat Detection in Power Platform Admin Center
- Sign in to Power Platform Admin Center.
- Go to Security → Threat detection.
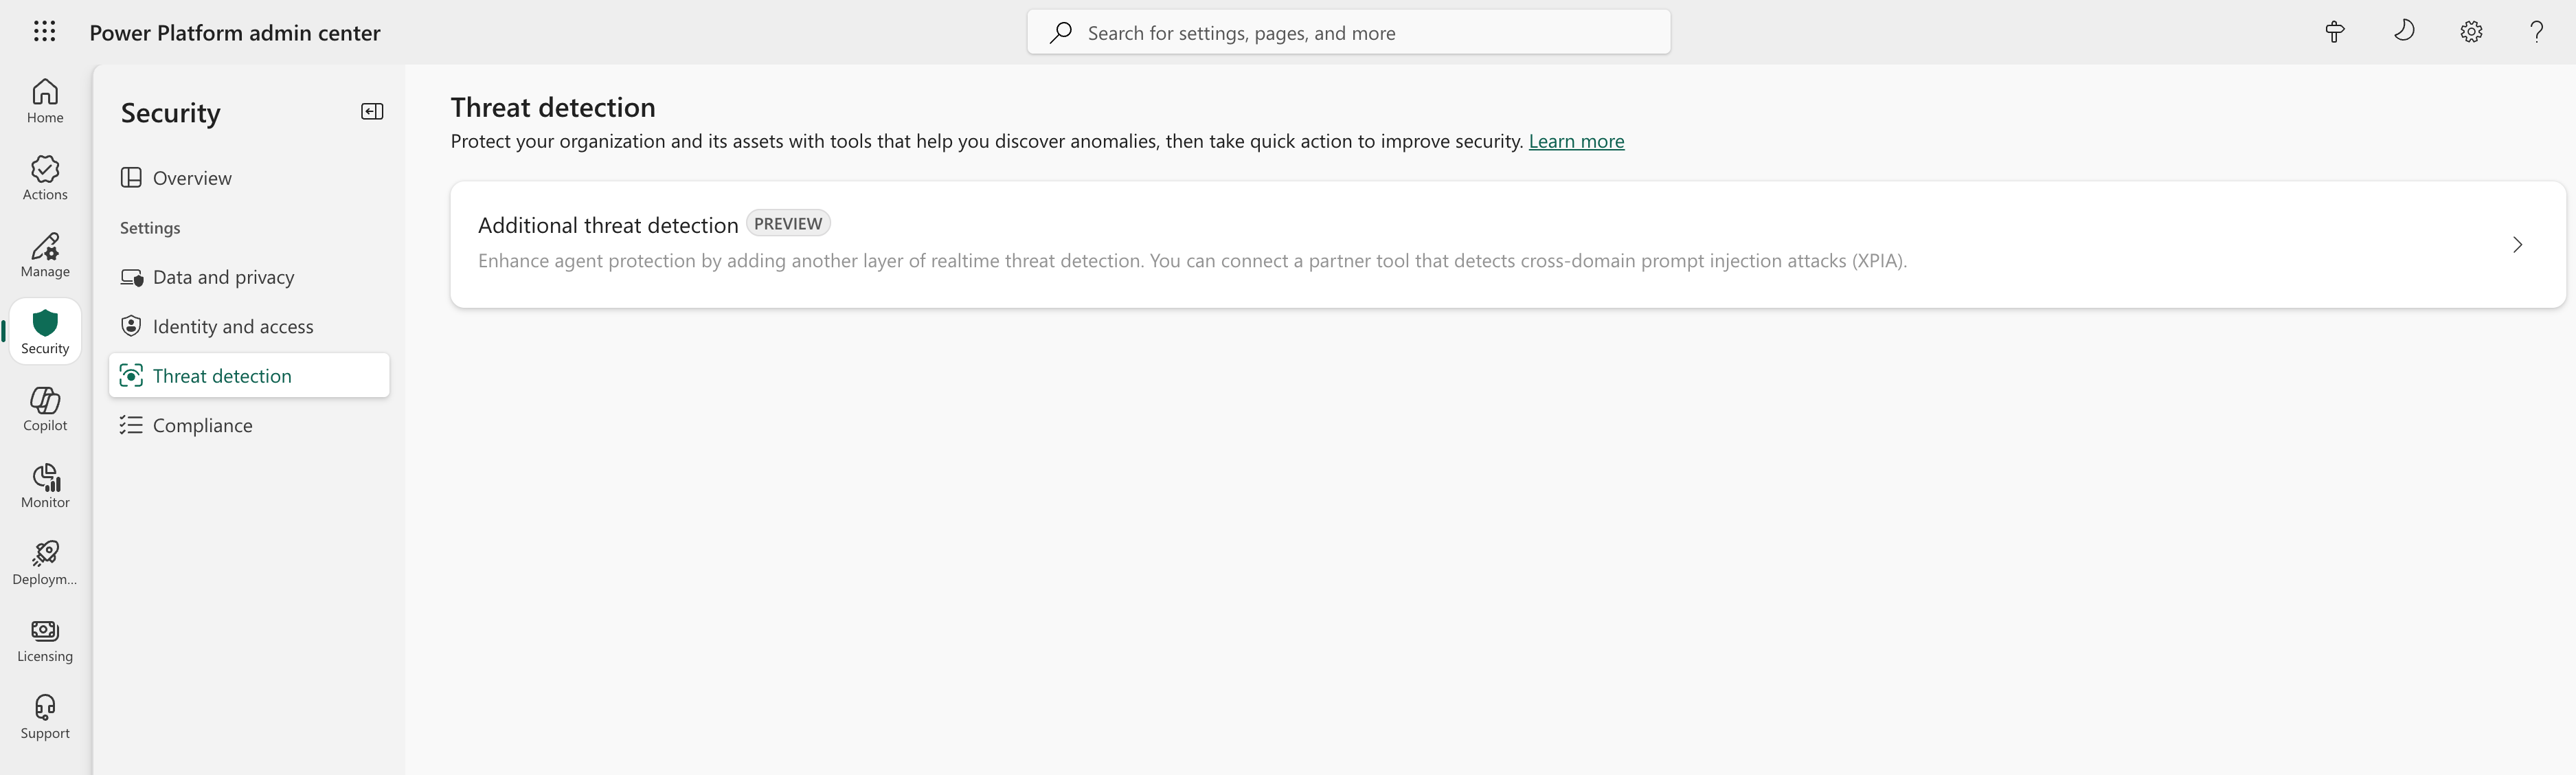
- Select Additional threat detection.
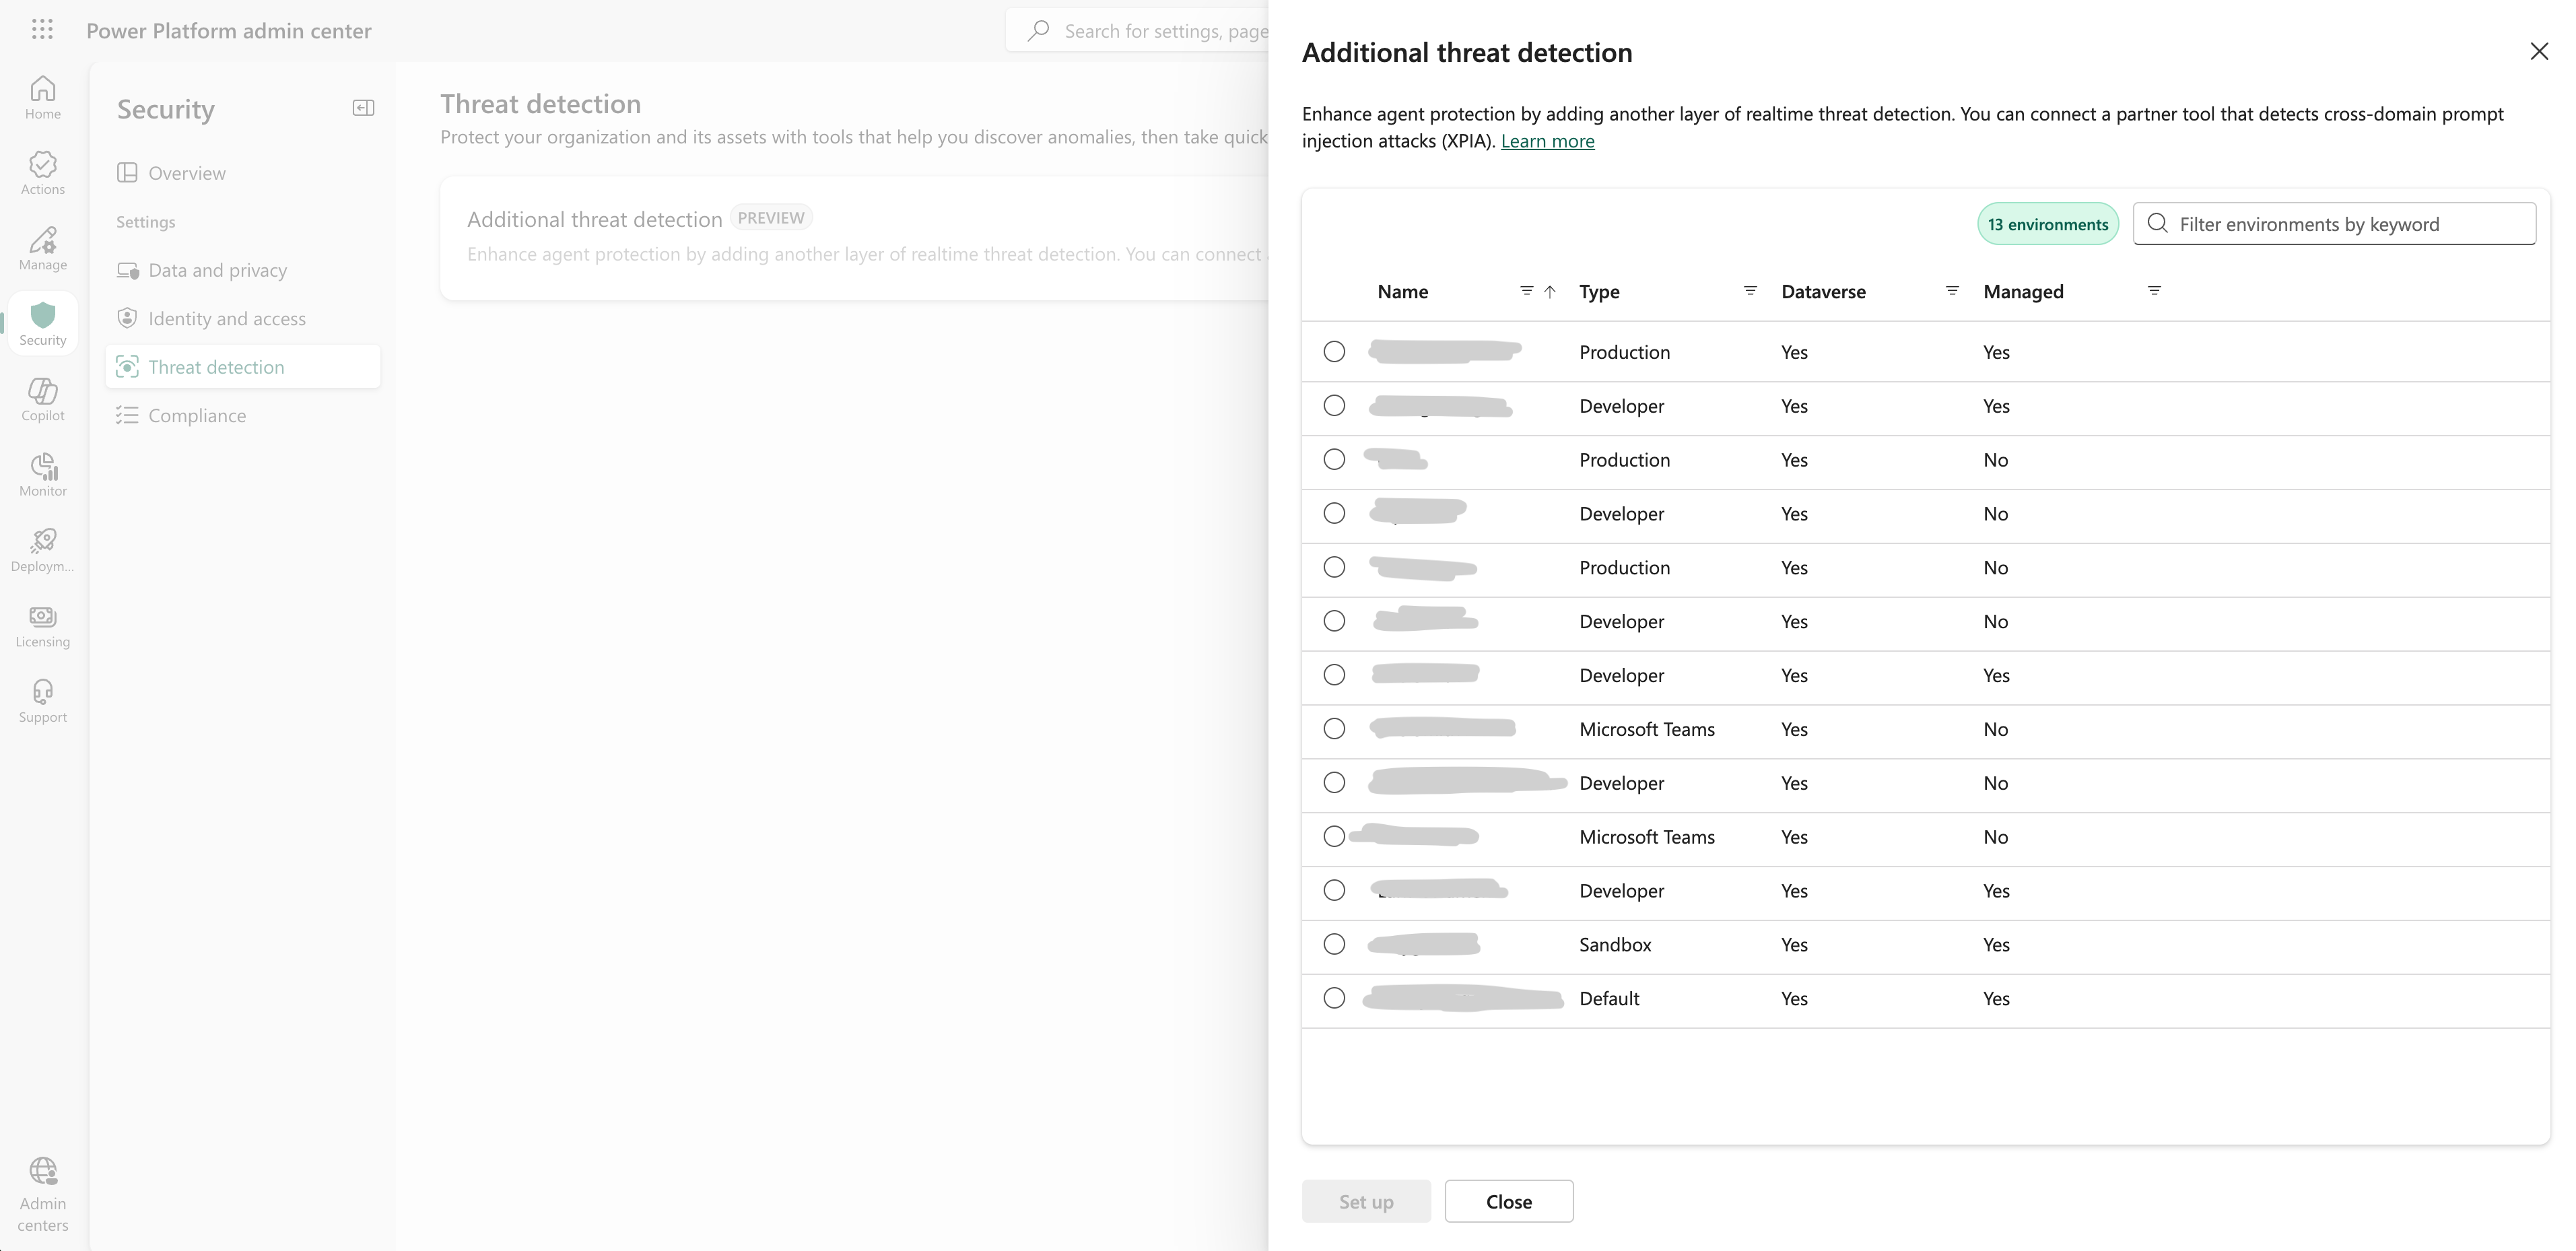
- Choose the environments or environment groups where you want to enable Zenity protection.
- Check “Allow Copilot Studio to share data with a threat detection partner.”
- Enter:
- Azure Entra App ID
- Zenity Webhook Endpoint (in the prerequisites above)
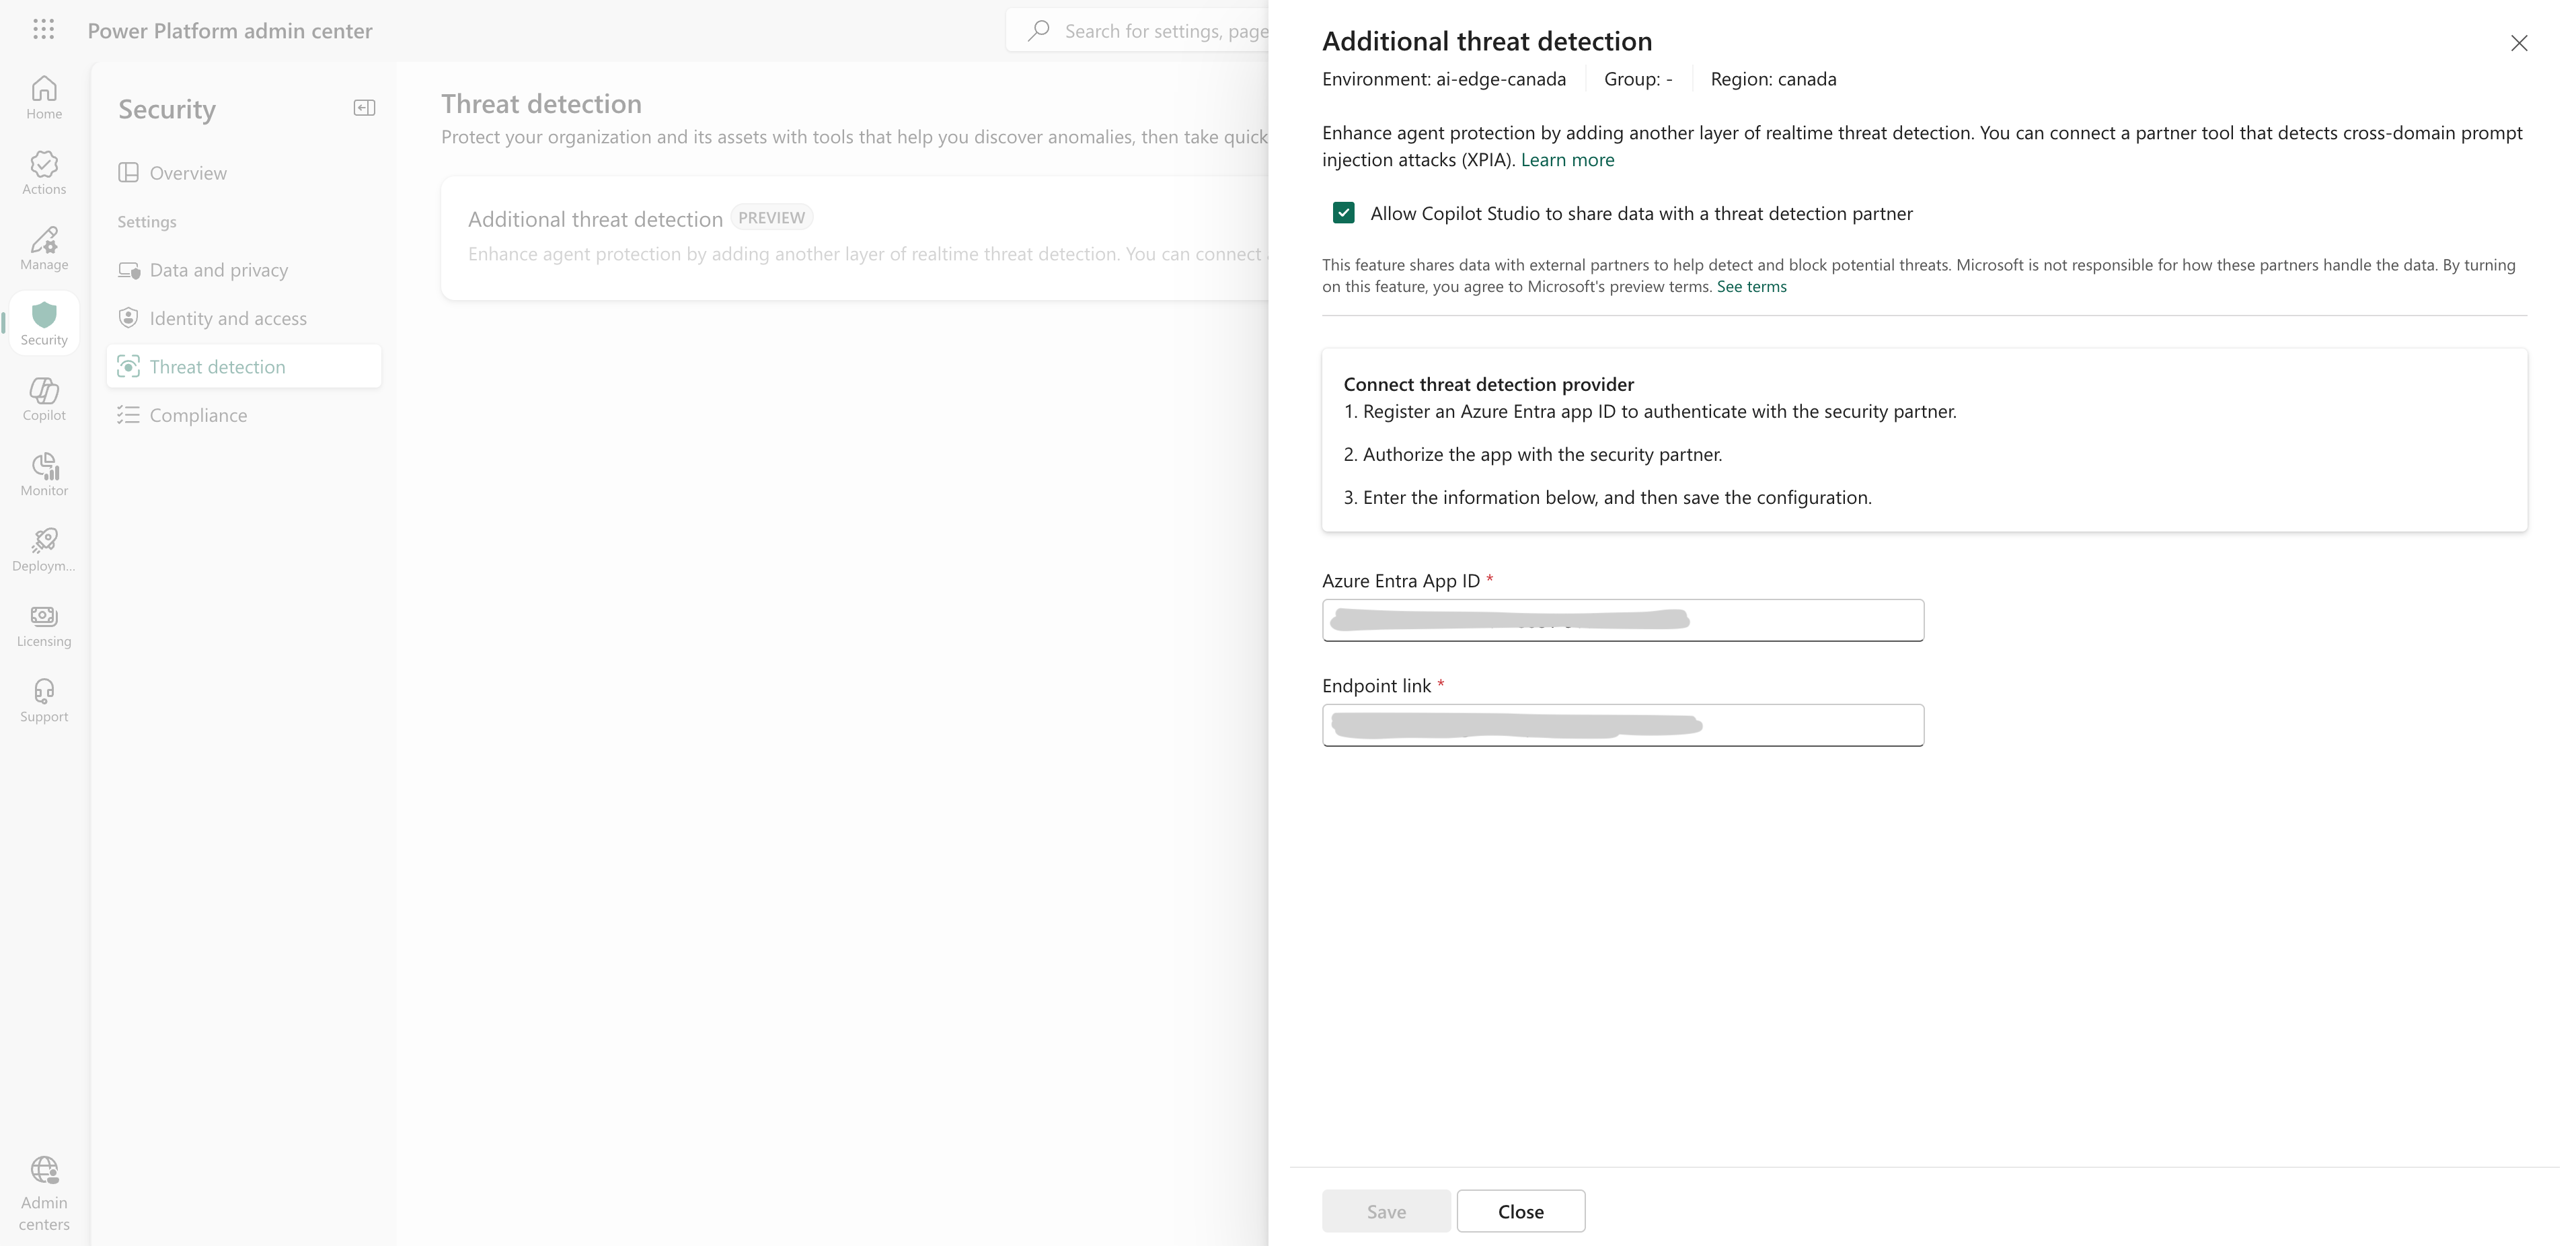
- Save changes.