Zenity's Custom Connector for PowerPlatform
Zenity's end-users are building complex remediation flows on top of the Zenity API.
Our goal is to simplify this process, no more creating custom HTTP requests to orchestrate an automatic remediation process.
Now, Introducing the 'Zenity Custom Connector for PowerPlatform' that extends our API to the Low/Code-No/Code space simplifying the use for our end-users.
Zenity users can harness the full power of the Zenity API in mere seconds using the connector actions.
The below doc covers how to get started with the custom connector, including, installing, configuring, and updating the Connector.
- Access the following link to download Zenity’s custom connector. Make sure to also download the protected client secret file, which is required for the connector's configuration and authentication process.
After downloading the connector follow the below steps:
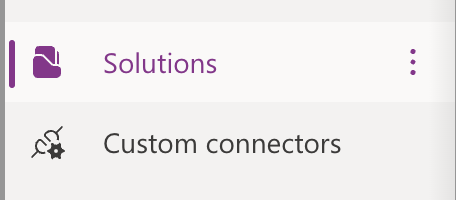
- Navigate to Power Platform and select "Solutions".
- Choose "Import Solution."

- Click on "Browse" and select the latest version of the zipped connector file, then click "Next."

- Check the details of the connector and confirm by clicking "Import."
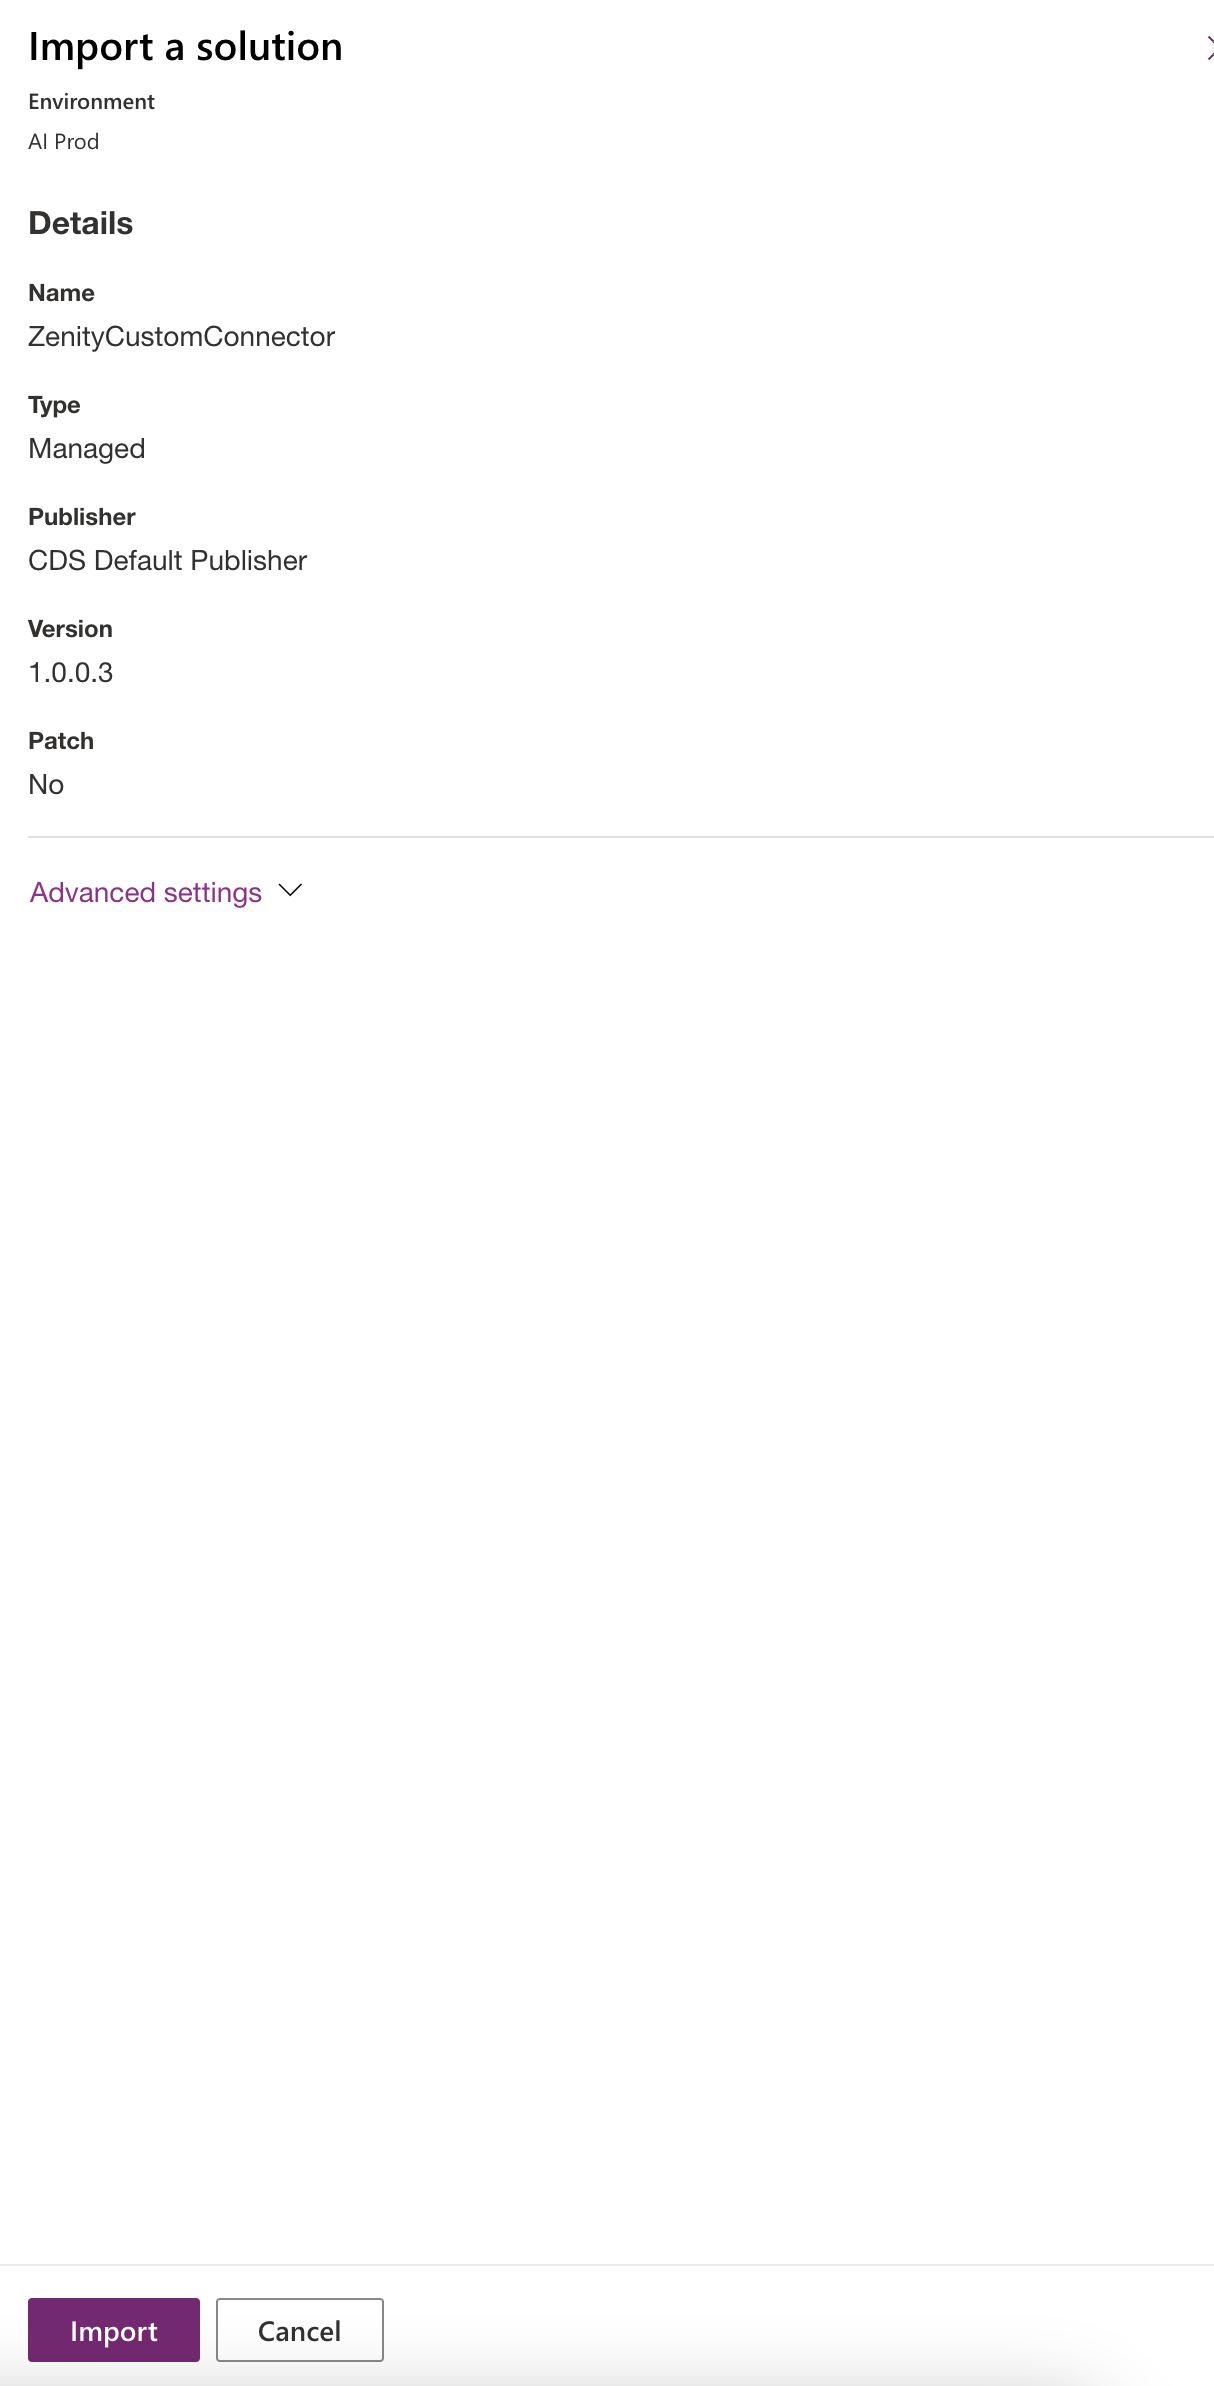
- Monitor the progress until the "Zenity Custom Connector" solution is successfully imported.

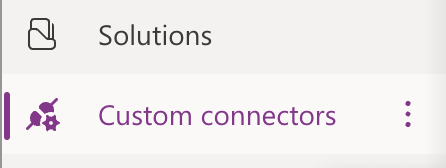
- Return to the sidebar and select "Custom connectors."
-
Ensure that Zenity’s connector is listed.

-
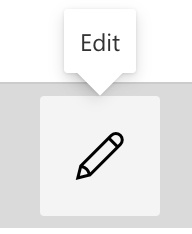
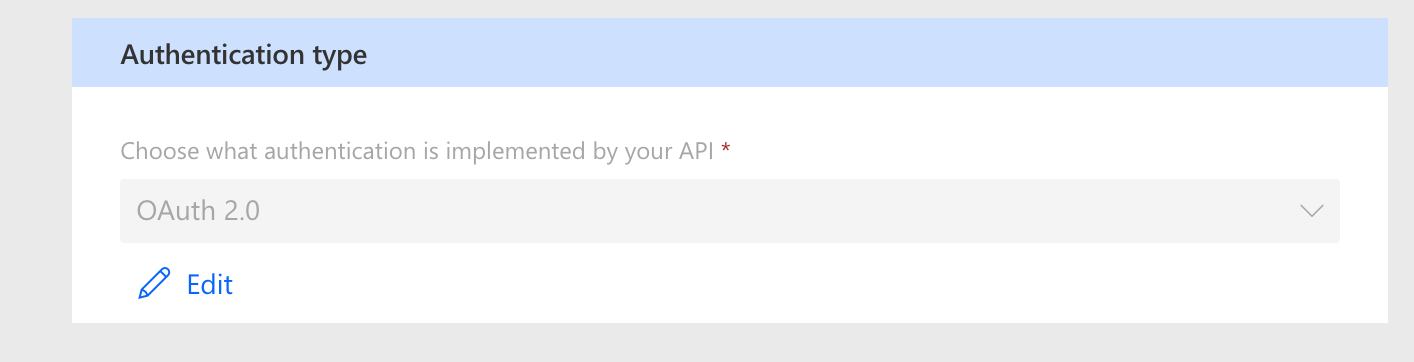
Click on "Edit" next to Zenity’s connector, then go to the "Security" tab.

-
Copy the redirect URL provided in the Security settings.

-
Press "Edit" and open the password-protected file you downloaded in phase 1 to copy the client secret.
- Paste the copied client secret into the appropriate field.


- Save the updated settings to complete the configuration of the connector.

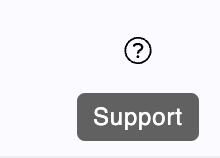
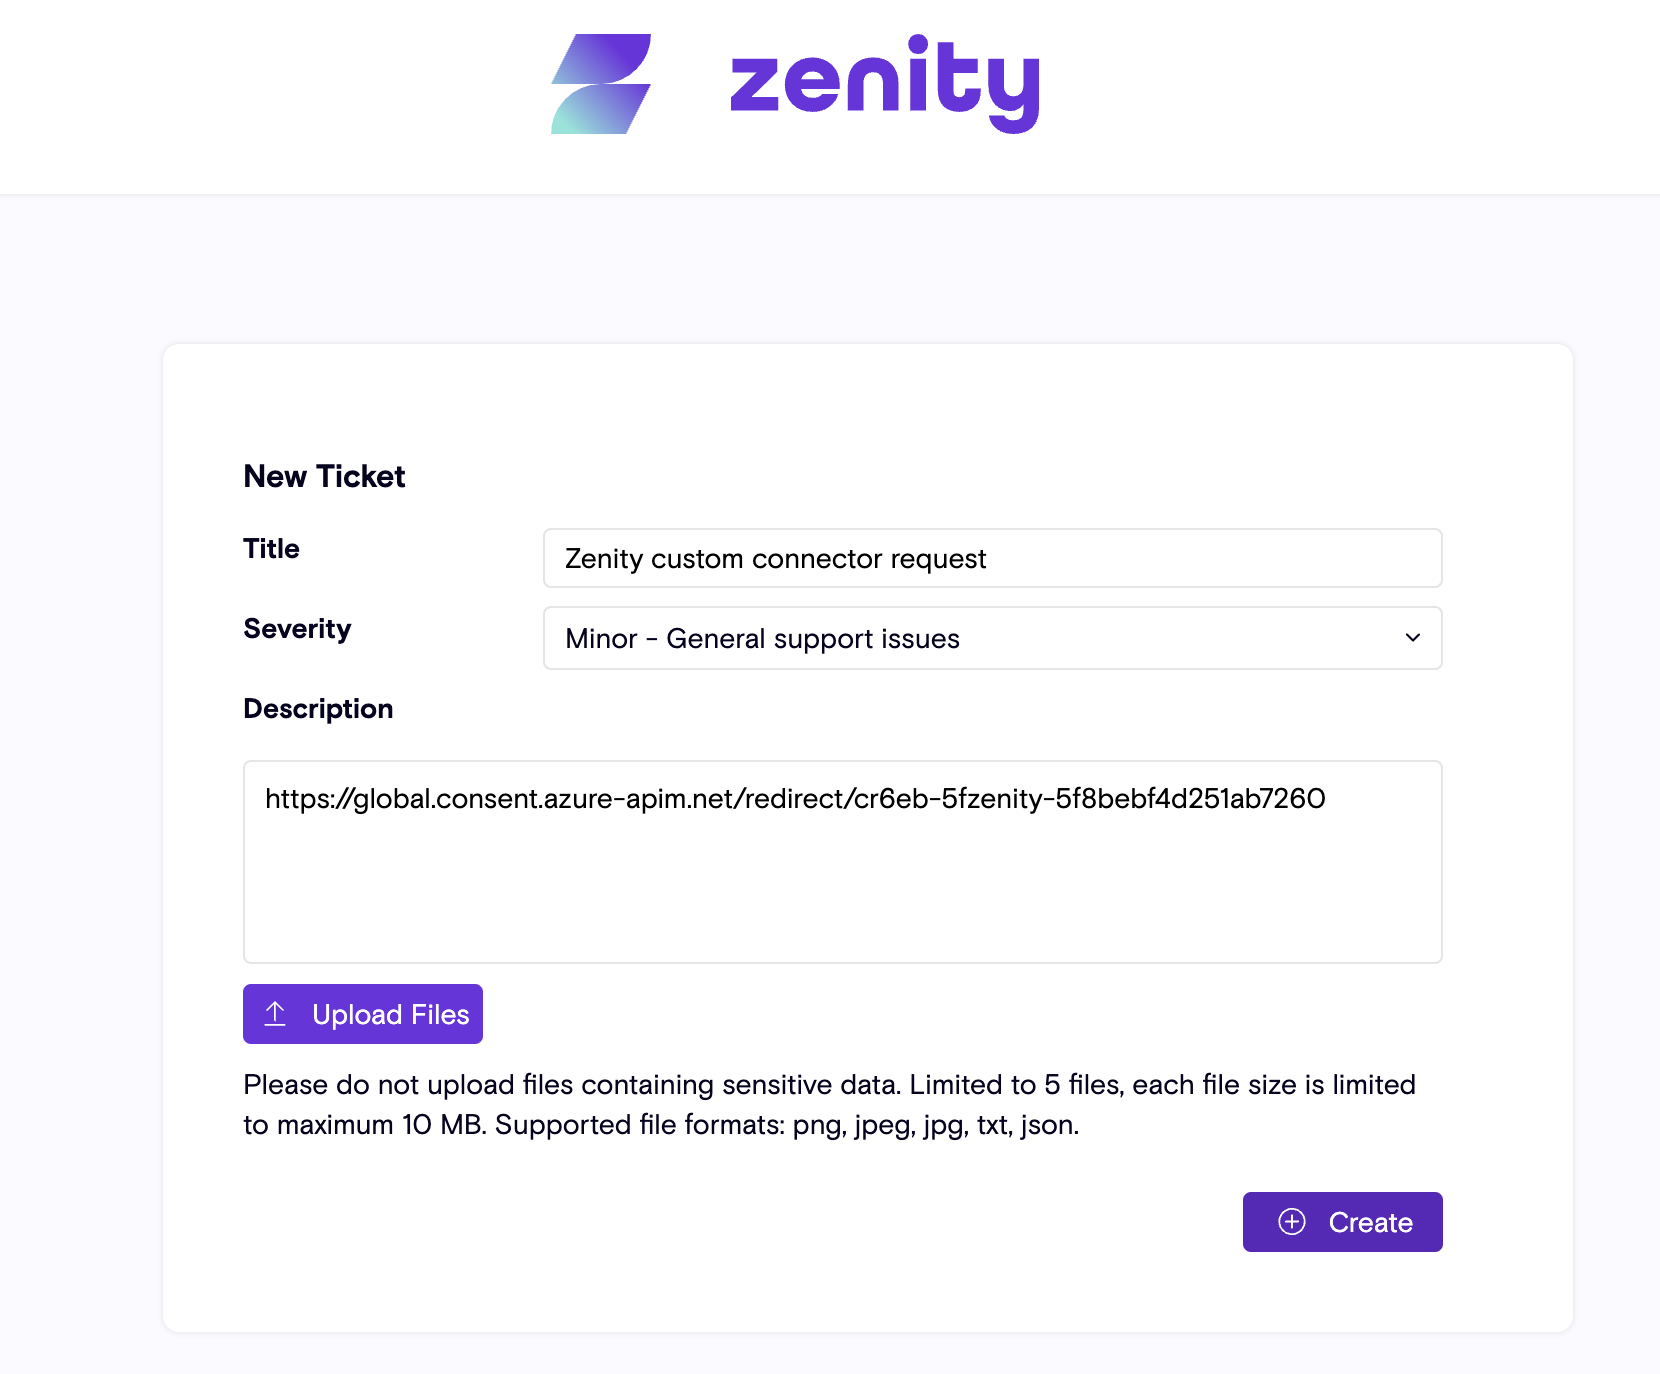
- Go to the Zenity app and initiate a support ticket.
- In the support ticket, paste the copied Redirect URL and provide contact information for follow-up.
- Once Zenity confirms the setup is complete and closes the support ticket, your connector is fully set and ready for use.