Single-Sign-On with Azure Active Directory
Follow this guide to set up Single-Sign-On (SSO) authentication to Zenity through Azure Active Directory (Azure AD).
Quick guide
A short summary of the steps required to set up SSO authentication to Zenity through Azure AD.
Step 1: Create an Azure AD enterprise application
1) Create an Entra ID application in the Microsoft Entra ID portal.
2) Search for 'App registrations' using the search bar.
3) Click on 'New registration':
a. Select a friendly name as: "Login Zenity"
b. Under Supported account types choose:
Accounts in this organizational directory only (<tenant> only - Single tenant)
c. Redirect URI: Select Web and fill in:
https://zenity-prod.eu.auth0.com/login/callback for EU region
https://zenity-prod-us-1.us.auth0.com/login/callback for US region
d. Click Register to complete.

4) Click on API permissions (under 'Manage') → Add a permission → Microsoft Graph → Delegated permissions.
Enable the following delegated permissions:
- User.Read
- Directory.Read.All
- Directory.AccessAsUser.All
5) Verify that the application has the correct permissions:
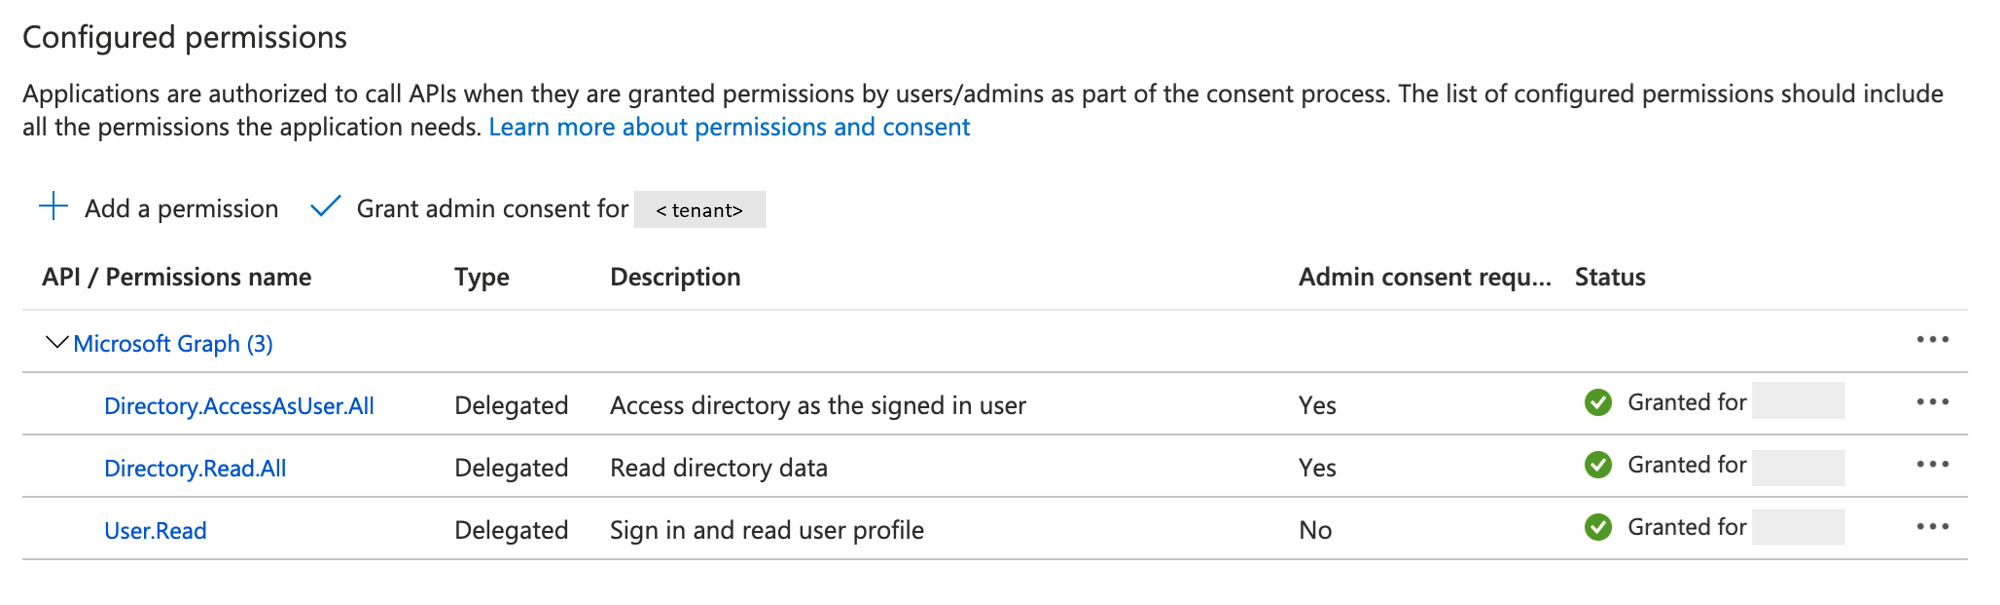
6) Click Grant admin consent for \<tenant> next to "Add a permission".
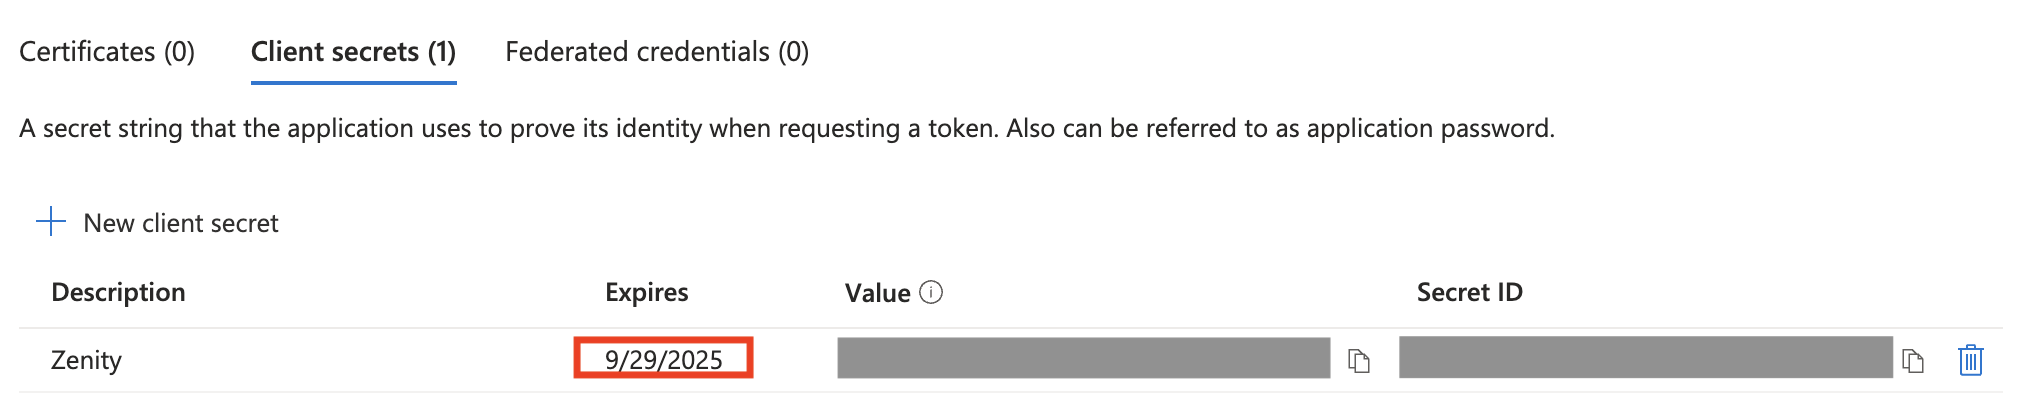
7) Create a client secret and choose an expiration date according to your company policy.
We recommend 24 months to reduce operational overhead.
* Note, please inform the Zenity admin of the client secret expiration date so they can be sure to initiate refresh before the secret expires.
Step 2: Provide Zenity with the clientId and clientSecret
1) Contact Zenity team at support@zenity.io and coordinate a secure way to provide your clientId and clientSecret.