Microsoft Tenant Integration Using Managed Application Consent
This guide articulates the technical steps to set up an integration between Zenity and a Microsoft tenant (covering multiple services such as power platform, M365 copilot, Copilot Studio, and Azure AI Foundry), using Zenity managed application service principal for authentication.
Goal:
- Give an admin consent to Zenity managed application, this will create a service principal in your tenant.
- Register Zenity application as a Power Platform admin management application.
- Create the integration in Zenity portal.
Notice that we will grant the Zenity application a "System Administrator" security role on each of the tenant's Power Platform environments.
Prerequisite
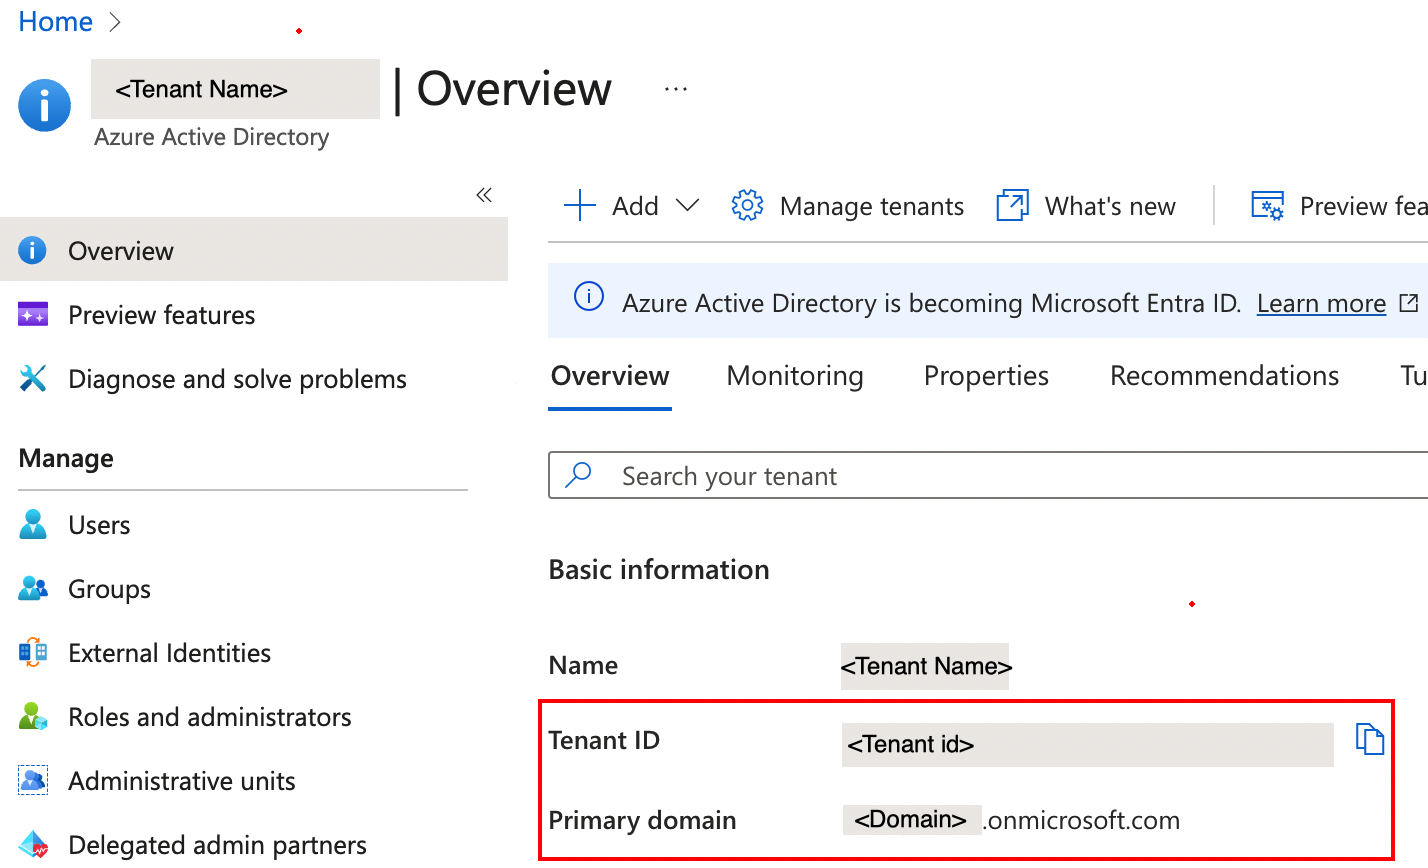
Before setting up the integration you should share with Zenity the Tenant ID and the Primary domain of the tenant you want to create the integration for. These details can be easily retrieved by any tenant user by simply going to Azure portal > Azure Active Directory in the Overview page under Basic information
Step-by-step guide
Below are detailed instructions on how to set up your integration.
Please note: the first two steps should be performed by an admin of your Azure Active Directory tenant
Step 1: Give an admin consent to Zenity managed application
Zenity manages a secured AAD application that should be consented by an admin of your Azure Active Directory tenant. The app requires the following Application permissions:
- Microsoft Graph: GroupMember.Read.All, User.Read.All, ExternalConnection.Read.All, TeamsAppInstallation.ReadForUser.All, AiEnterpriseInteraction.Read.All
- Office 365 Management APIs: ActivityFeed.Read
- Power BI Service: Tenant.Read.All
To consent these permissions, an admin of your Azure Active Directory tenant should:
- Fill your tenant id in below URL and follow the link in a browser (preferably in private browsing) https://login.microsoftonline.com/{YOUR-TENANT-ID}/adminconsent?client_id=c1c00034-cbff-4ef7-bc6e-372fbfdbc370
- Fill in username and password
- Accept the requested permissions
- Upon a successful consent you should be redirected to Zenity app

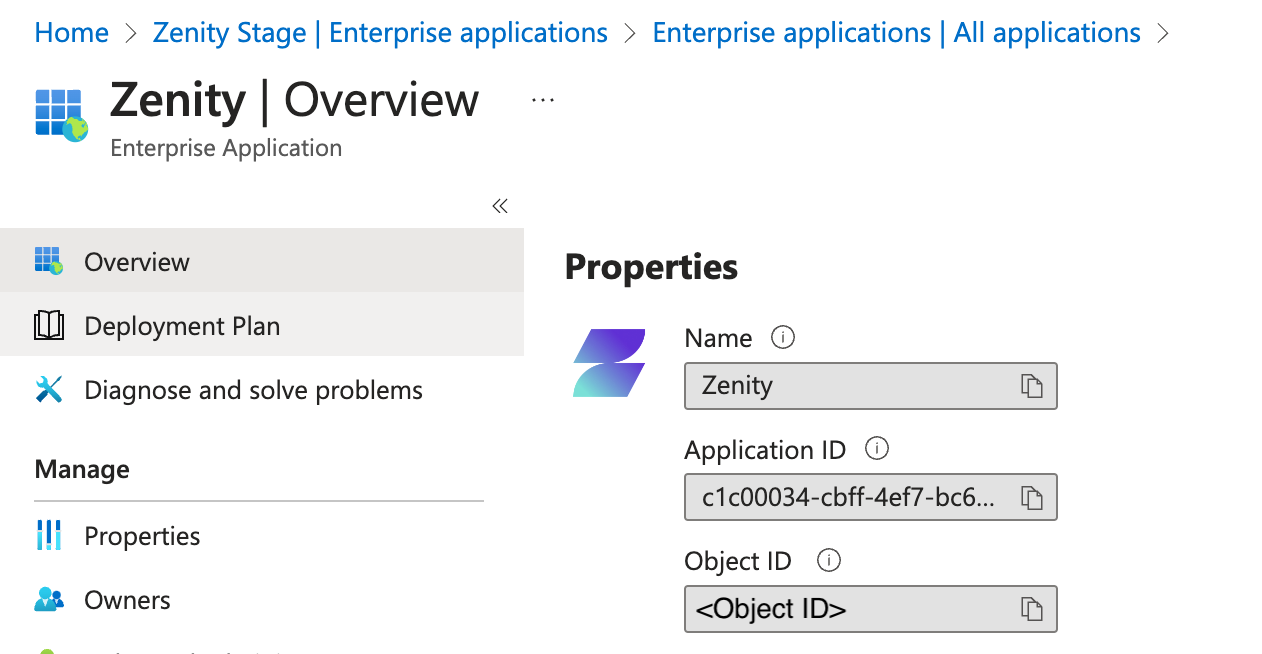
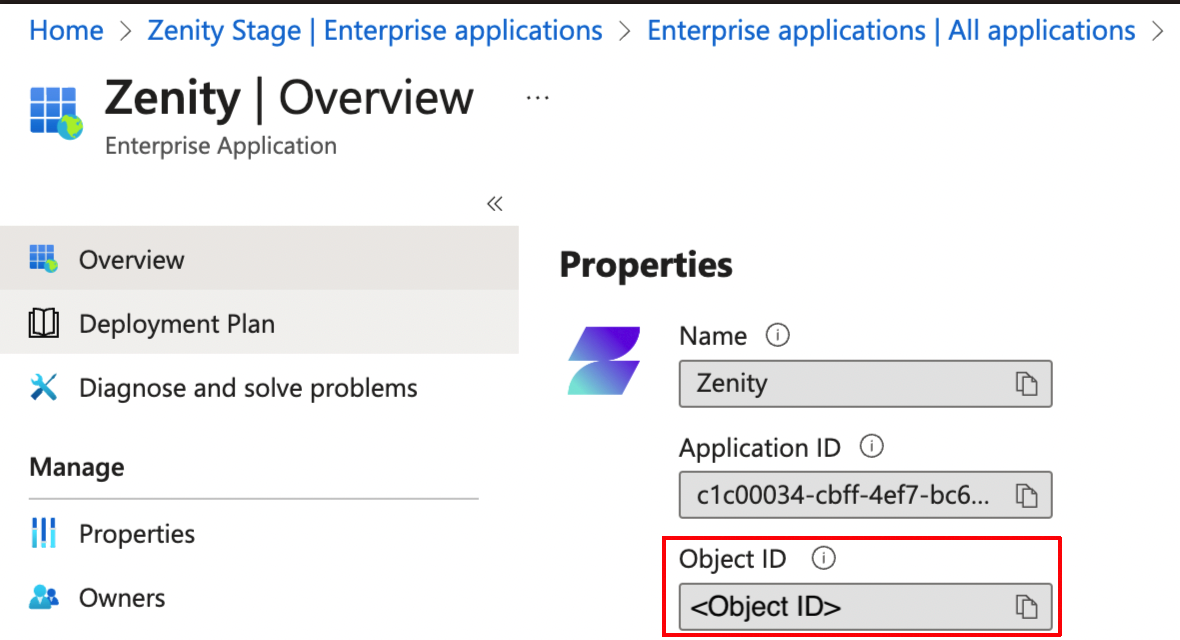
After the consent a Service Principal will be created in your tenant. Locate in Azure Active Directory 'Enterprise applications' by searching 'Zenity'. Notice there are two identifiers:
- Application ID - The ID of Zenity managed app.
- Object ID - The ID of the Service Principal in your tenant.
In case not all permissions are required for your setup, they can be revoked after the consent is granted.
Step 2: Register your application as Power Platform administrator
Choose one of the following options to register your application as a Power Platform admin management application:
Using PowerShell for Power Platform administrators (recommended for Windows users):
- Install PowerShell for Power Platform administrators as explained here, if not already installed.
-
Change your PowerShell execution policy to allow you to run scripts:
Set-ExecutionPolicy -ExecutionPolicy RemoteSigned -Scope LocalMachine -
Sign in to Microsoft Power Platform interactively with your Power Platform admin user, using the following command:
Add-PowerAppsAccount -Endpoint prod -
Register Zenity application as a Power Platform admin management application:
New-PowerAppManagementApp -ApplicationId "c1c00034-cbff-4ef7-bc6e-372fbfdbc370" -
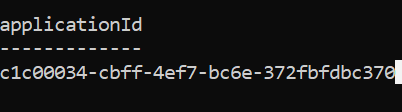
Upon a successful registration you should see the Zenity application id as below
Using Power Platform API:
-
Obtain an access token using your tenant's administrator username and password:
- Install a REST API tool. The next steps will be based on Postman application
- Open the Postman application.
-
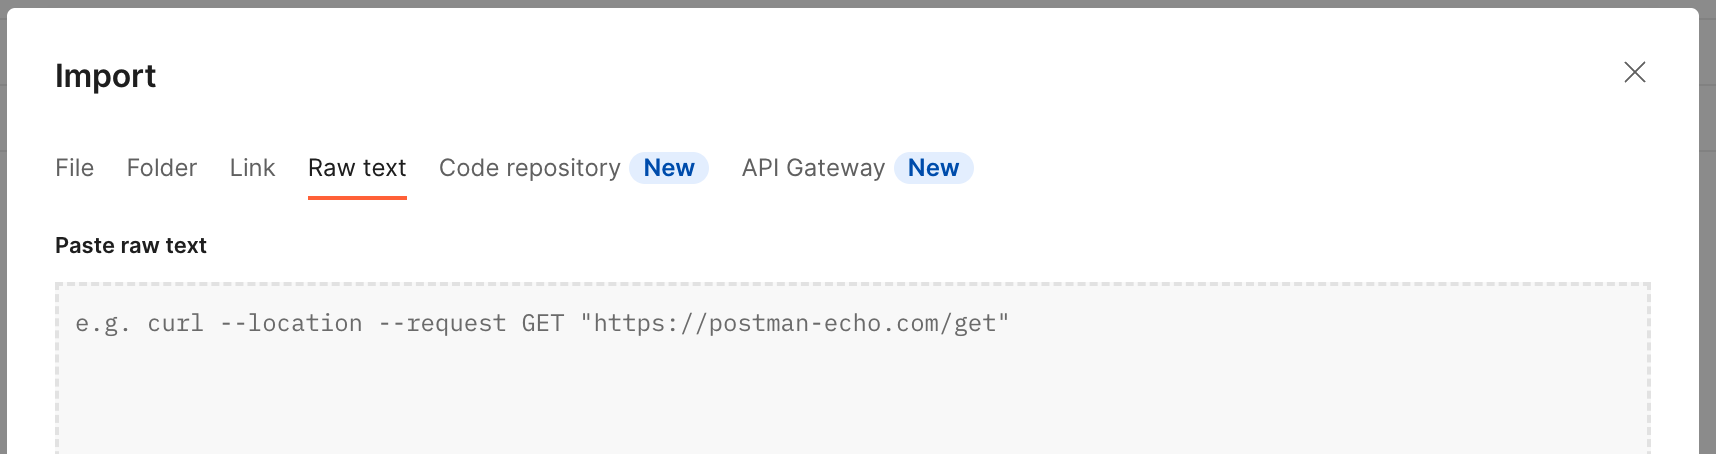
Press on the Import button

-
Choose the Raw text option
-
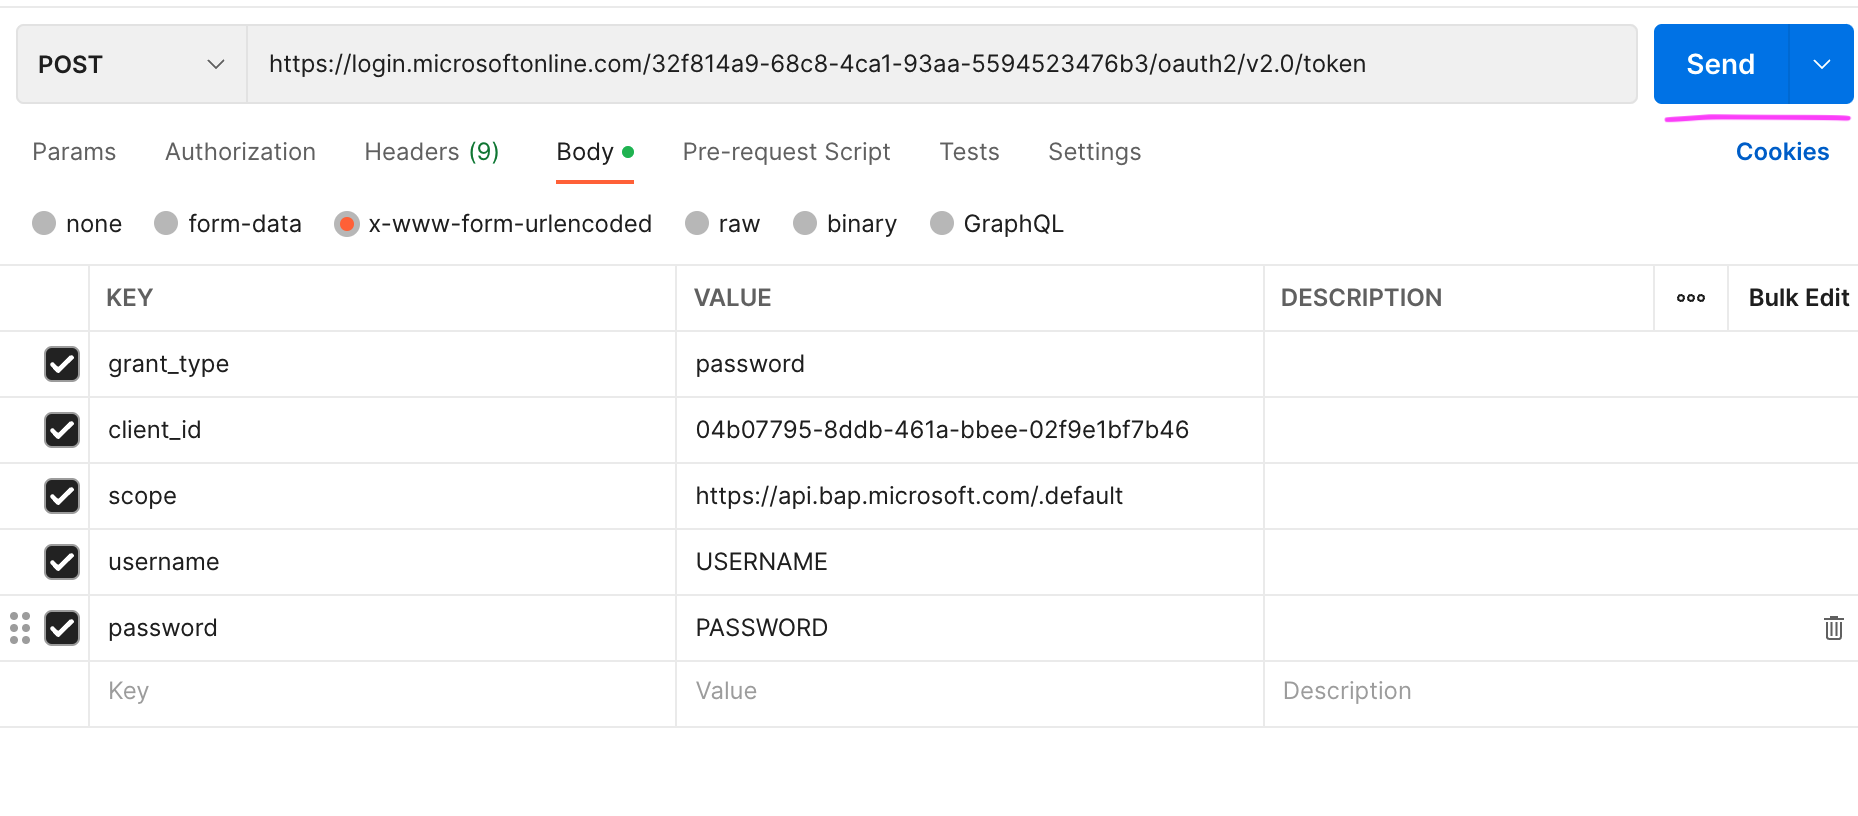
In below cURL fill your Power Platform administrator username and password and your tenant id. In this request, you are going to use Microsoft Azure CLI First-Party application in order to obtain a token with the required scope to call the Power Platform registration endpoint.
curl --location --request POST 'https://login.microsoftonline.com/{FILL_YOUR_TENANT_ID}/oauth2/v2.0/token' \ --header 'Content-Type: application/x-www-form-urlencoded' \ --data-urlencode 'grant_type=password' \ --data-urlencode 'client_id=04b07795-8ddb-461a-bbee-02f9e1bf7b46' \ --data-urlencode 'scope=https://api.bap.microsoft.com/.default' \ --data-urlencode 'username={FILL_YOUR_USERNAME}' \ --data-urlencode 'password={FILL_YOUR_PASSWORD}' -
Import the cURL and send the request
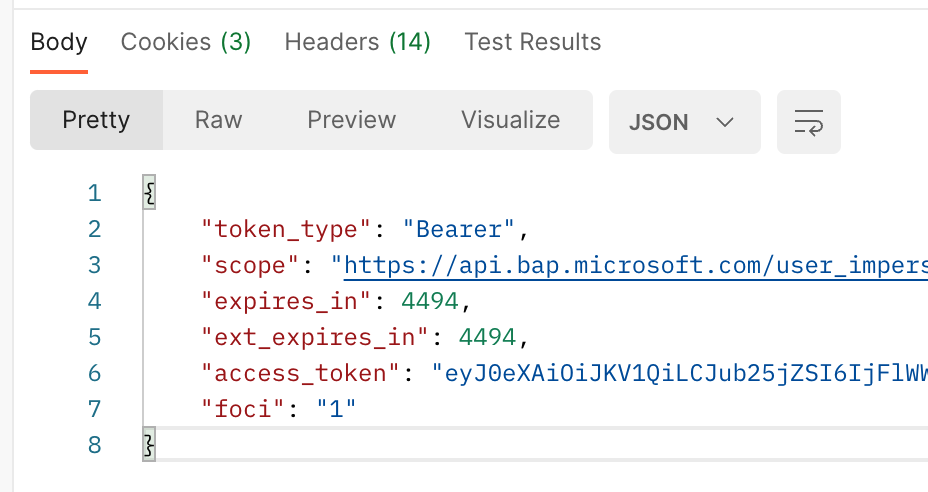
- You should get the following response. Copy the value under access_token and keep it aside:
-
Register Zenity application as a Power Platform admin management application. In below cURL fill the access token you obtained in the previous step and send the request:
curl --location --request PUT 'https://api.bap.microsoft.com/providers/Microsoft.BusinessAppPlatform/adminApplications/c1c00034-cbff-4ef7-bc6e-372fbfdbc370?api-version=2020-10-01' \
--header 'Authorization: Bearer {FILL_THE_TOKEN_YOU_OBTAINED_IN_THE_PREVIOUS_STEP}'
Step 3: Create the integration in Zenity portal
Retrieve the following details from your Azure Active Directory:
- Your AAD tenant id
- The Object ID of your Service Principal - Please do not confuse with the Application ID
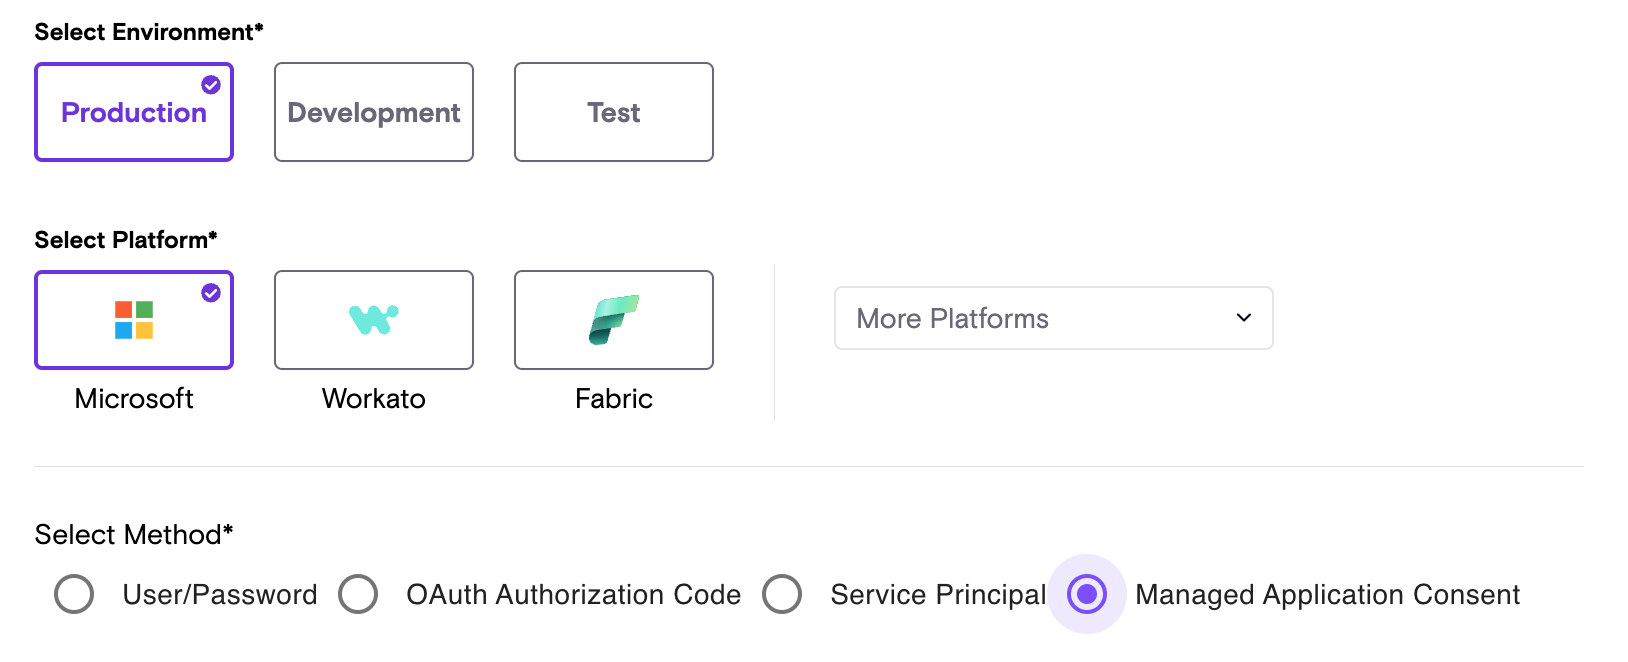
Sign into Zenity portal, go to Integrations page, click CREATE NEW and provide the details:
IPs Whitelisting Consideration
In our ongoing efforts to enhance the security and reliability of our software, we will be updating the public IP addresses used by our Services and APIs. If your company policy requires you to safelist IP Addresses for your inbound integrations then please make sure the below IPs are safelisted.
- 18.200.62.37
- 52.31.196.233
- 108.128.206.229
- 99.81.56.225
US (Ohio) Region
- 18.116.189.61
- 3.147.9.237
In addition, here are the service endpoints for the US region. * Zenity API endpoint: api.us1.zenity.io * Zenity portal endpoint: app.us1.zenity.io